Action camera body mount comparison: choosing helmet, chest, or bike mounts

Helmet, chest and bike-frame mounts each have different trade-offs: helmet mounts give a head-level viewpoint, chest straps tend to smooth torso-driven motion and reduce perceived bounce, and bike-frame mounts attach the camera rigidly to the bike but may transmit frame vibrations. Which is best depends on your camera, terrain, desired perspective, and helmet safety rules.
On this page (8 sections)
- Remember this
- Overview: how perspective, stability and comfort interact
- What review outlets and tests say (sourcing and context)
- Compatibility notes: beyond GoPro-style mounts
- How to test mounts on your own equipment (practical measurement)
- Helmets and safety certifications: explicit warnings and best practice
- Final recommendations and setup checklist
- FAQ
Part of our guide on mounts that secure phones on rough roads
Fast facts
- Mount performance varies with
- camera model, mount design, attachment method, rider biomechanics, terrain, and bike suspension
- Common mechanical interfaces
- GoPro-style three-prong, 1/4-20 tripod thread, proprietary plates, and adhesive flat/curved bases
- Primary trade-offs
- perspective vs. stability vs. comfort vs. ease of swapping
- How to measure stability
- use a vibration meter (accelerometer) or record short test clips on your routes and compare stabilized vs unstabilized footage
Remember this
- Helmet mounts provide a rider sightline perspective but will reflect head movement and any helmet vibrations; verify helmet compatibility and safety rules before use.
- Chest straps often produce smoother footage for rough terrain because the torso absorbs some shocks; fit and harness design affect comfort and stability.
- Bike-frame mounts offer mechanically consistent framing of the bike but can transmit frame vibration; use isolation accessories (dampers, short arms) for rough trails.
- Check compatibility for non-GoPro-style cameras (mirrorless, compacts, 360 cameras) and consider adapters or vibration-damping mounting plates.
- Always confirm helmet-safety certification implications with the helmet manufacturer; adhesive mounts and drilling/alteration can void certifications and reduce helmet protection.
Overview: how perspective, stability and comfort interact
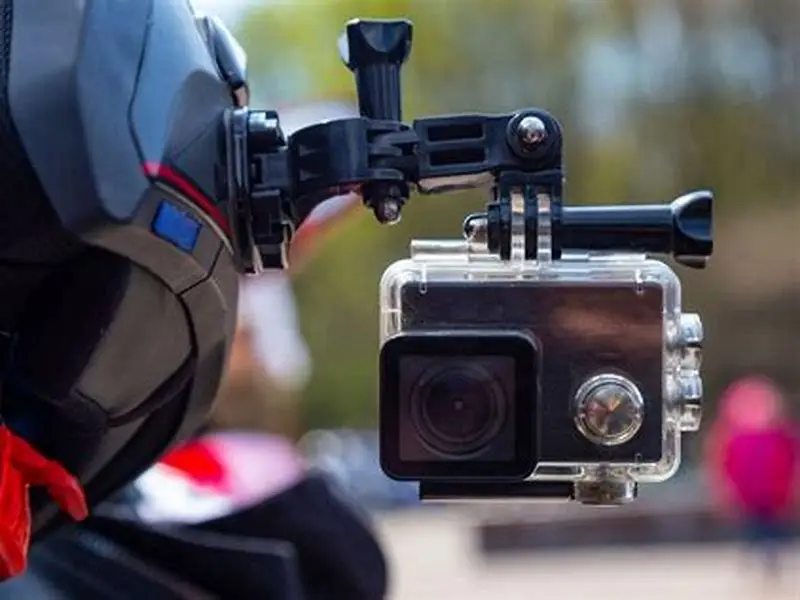
Picking a mount requires balancing what you want the footage to look like (perspective), how steady it should be (stability), and how comfortable the mounting solution is for the rider. Perspective is largely determined by mounting location (head-level, chest-level, frame-level). Stability is affected by how the mount couples the camera to moving mass (your head, torso, or bike frame), and by the mount’s hardware (elastomer dampers, quick-release arms, adhesive base geometry). Comfort depends on weight distribution, strap pressure, and whether the mount interferes with movement or helmet fit.
Research and review testing from reputable outlets (BikeRadar, OutdoorGearLab, DC Rainmaker, and independent lab-style tests) demonstrate consistent directional findings: head-mounted cameras reproduce the rider’s viewpoint but capture head motion; chest mounts reduce vertical bounce associated with leg and shoulder movement; bike mounts mirror frame vibrations unless damping is added. These outlets provide methodology and sample footage that you can compare to your needs (see References). Use their tests as directional guidance rather than absolute metrics because real-world results vary with equipment and terrain.
| Factor | Helmet (head) | Chest (torso) | Bike frame |
|---|---|---|---|
| Perspective | Eye-level / rider sightline | Mid-level, includes hands and handlebars | Bike-centric; shows components and immediate track |
| Typical stability tendency | Reflects head motion and helmet vibrations | Torso attenuates some vertical shocks and bobbing | Rigid coupling — transmits frame shocks without isolation |
| Comfort impact | Can add perceived helmet weight or pressure | Distributes weight across torso; fit-critical | No direct wear discomfort but can affect handling or aesthetics |
What review outlets and tests say (sourcing and context)
Conclusions about which mount type tends to perform better are best drawn from multiple independent sources. Notable examples include: BikeRadar’s head-to-head mount comparisons and trail footage tests; OutdoorGearLab’s side-by-side evaluations with clear methodology; DC Rainmaker’s equipment teardown and video-testing approach; and lab-style vibration/accelerometer comparisons published by specialist reviewers on YouTube and in print. These sources generally provide footage samples, test conditions, and measurement notes, which help you extrapolate to your own equipment and terrain.
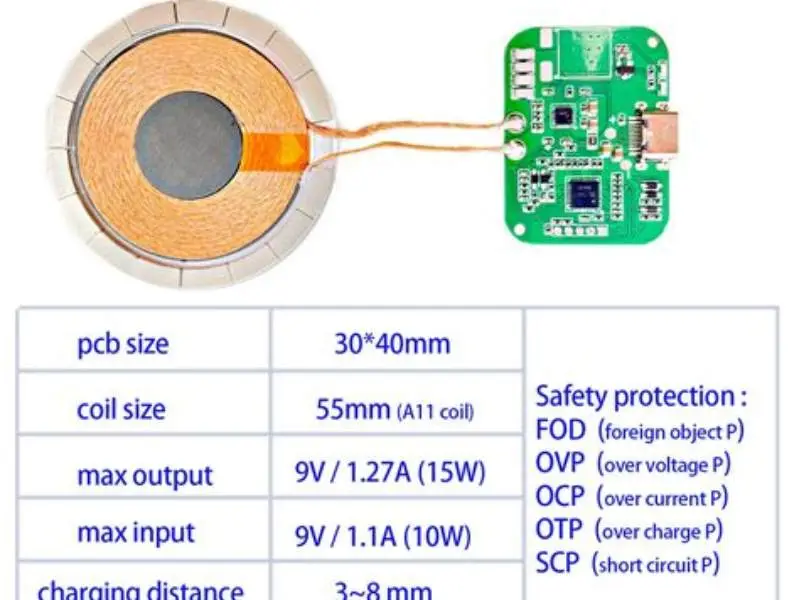
When review sites provide numerical data (acceleration readings, g-force peaks, or comparative ranking scores), pay attention to test setup: camera model and housing, mount model, the section of trail or road used, and whether footage was digitally stabilized in post. Those factors change outcomes more than the nominal mount type alone. Where possible, look for tests that include your camera model or provide raw accelerometer data you can compare. People in this spot often ask about magnetic shield plate for qi2 puck as well.
- BikeRadar: practical ride tests and footage comparisons
- OutdoorGearLab: systematic comparisons with stated test protocols
- DC Rainmaker: detailed tech teardown, footage samples, and sometimes accelerometer data
- Independent channel lab tests: useful for raw acceleration data and damping comparisons

PM633C Digital Vibration Meter
Captures peak acceleration up to 300 m/s2 and frequency range 30Hz to 14KHz, covering your vibration measurement needs.
Compatibility notes: beyond GoPro-style mounts
GoPro-style three-prong mounts are ubiquitous and supported by many third parties, but many cameras do not use that system by default. Important interfaces to consider:
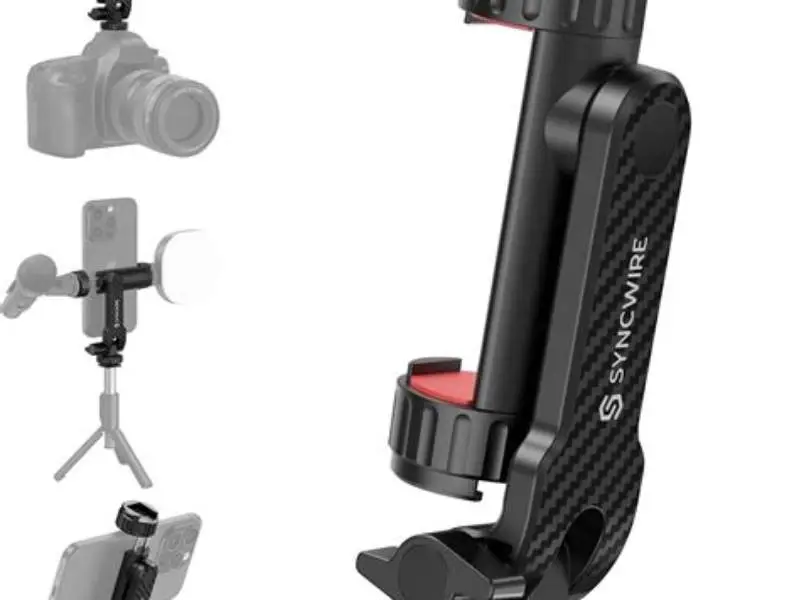
1/4-20 tripod thread: mirrorless cameras, compacts, and many 360 cameras use the standardized 1/4-20 screw. To use these on body mounts you may need a dedicated clamp, a quick-release adapter, or an anti-vibration mounting plate. For small mirrorless bodies, add a light cage or plate to avoid stressing the camera body with lateral forces.
Proprietary plates: some cameras (e.g., Insta360 modulars, action cameras with integrated frames) use proprietary mounting plates or cases. Check the manufacturer’s accessory list for helmet/chest/bike attachments or approved third-party adapters. Before you commit to anything, it is worth looking at wahoo mount compatible magnetic phone holder.
360 and multi-lens cameras: these need careful placement to avoid self-shadowing and to preserve stitch quality. Low-profile mounts designed for 360 capture and short-arms are preferable. Many 360 cameras accept 1/4-20 adapters but will benefit from vibration-damping plates to protect stitch consistency.
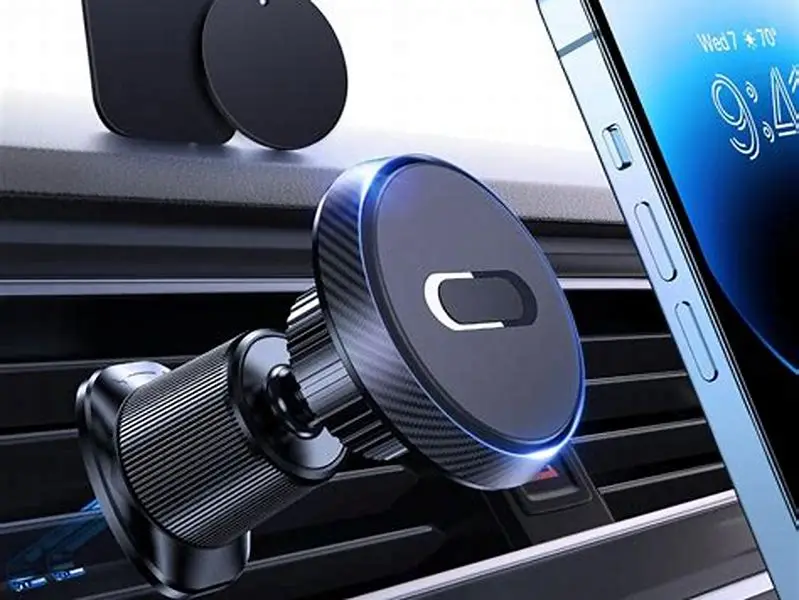
Phone rigs and magnetic systems: phones require strong magnetics or secure clamps; always test retention under your actual riding conditions. For phones and heavier mirrorless cameras, consider a harness or frame-mounted cage instead of adhesive helmet mounts.
- If your camera lacks a GoPro three-prong interface, purchase a purpose-made adapter rather than forcing an ill-fitting mount.
- For heavier cameras, use plates or cages that distribute load and consider reinforced harnesses or bike clamps.
- Always verify that the mounting method does not obstruct cooling, ports, or moving parts (e.g., articulating screens).

Aluminum Camera Tripod Adapter,2pcs ¼-20 Conversion Adapter Mounts
Provides 1/4-20 to GoPro adapter with locking ring and rubber ring to prevent rotation, ensuring secure mount for various action cameras.
A practical, sourced comparison: match the mount to your camera, route, and safety requirements rather than relying on blanket numeric claims.
How to test mounts on your own equipment (practical measurement)
Because published tests reflect specific setups, the best way to choose a mount is to test with your camera and typical routes. Two practical approaches: People in this spot often ask about wall mounted tv arms long reach as well.
Objective measurement: use a handheld vibration meter or any accelerometer app/device attached alongside the camera to record peak and RMS acceleration during representative rides. Compare results across mount types and note frequency content: high-frequency spikes often correspond to small bumps, while low-frequency movement represents body sway or head nod.
Subjective plus video comparison: record short (3–10 minute) clips from each mount on the exact section of trail or road you most often ride. Compare the same segments in your editing software, toggling digital stabilization on and off. This shows the real-world impact on framing, motion, and usability of footage.
Record metadata: note camera model, housing, mount brand and part number, terrain, tire pressure, and suspension settings for each test. That makes your results repeatable and lets you compare later if you change one variable.
- Run identical routes and include known obstacles (rumble, gravel, roots) in each test.
- If you measure with an accelerometer, focus on both peak acceleration and RMS values across the clip.
- Use the same mounting location on your helmet or chest for repeated tests to ensure consistency.
- Attach the camera and any adapters exactly as you would in use.
- Run the chosen course for a short, repeatable segment.
- Collect footage and sensor output, then compare in the same playback or analysis settings.
Helmets and safety certifications: explicit warnings and best practice
Mounting cameras to helmets raises safety issues that go beyond footage quality. Many helmet manufacturers explicitly state that attaching accessories (adhesives, screws, or cutting/altering shell or liner) can void certifications and reduce protective performance. Common regional helmet safety standards include CPSC (U.S.), EN 1078 (Europe), and AS/NZS 2063 (Australia/New Zealand); these standards govern impact performance and shell/liner integrity.
Adhesive mounts: adhesive pads bond to the helmet shell and are very common, but they can change how the shell deforms in an impact or introduce stress concentrators. Manufacturers sometimes prohibit adhesive attachment to certain helmet materials (e.g., MIPS liners hidden beneath the shell). Always consult your helmet manual and the helmet manufacturer’s accessory guidance before using adhesives.
Strap or clip mounts: strap-based mounts that do not alter the shell are generally lower risk for certification but can still change helmet fit and rotational dynamics in a crash. Avoid mounts that reposition straps or alter fit unless explicitly tested by the helmet maker.
Drilling or modifying helmets: never drill holes, cut foam, or otherwise permanently alter a helmet unless the helmet maker provides instructions and replacement parts. Modifications typically void any certification and increase risk of injury.
Manufacturer guidance: if in doubt, contact the helmet manufacturer and request written guidance on using mounts. Look for accessory kits they offer or endorse. Where possible use mounts designed specifically for your helmet model and tested in combination by the manufacturer or reputable labs.
Insurance and competition rules: some competitions and insurance policies require helmets to retain certification; mounting methods that void certifications may also affect liability and insurance claims after an accident.
- Check helmet manufacturer guidance before attaching any accessory.
- Prefer non-invasive mounts that don’t alter shell or liner.
- Avoid adhesive use on helmets where the manufacturer prohibits it.
- Document manufacturer permission if you must use a non-standard mounting method.
Final recommendations and setup checklist
Choose mounts according to these priorities: (1) required perspective; (2) anticipated terrain; (3) camera make/model and weight; (4) helmet safety rules; and (5) how often you will swap mounts during an activity.
If you value rider sightline for POV footage and your helmet manufacturer permits it, test a low-profile helmet mount on smooth routes first, then try rougher trails and review footage. If you need smoother footage on rough trails, try a chest mount harness with a comfortable fit and an antisway design.
For bike-frame footage, use mounts that offer vibration-damping options: short arms, elastomer dampers, or a small shock-absorbing adapter plate. For heavier cameras, prefer frame clamps with distributed load and anti-rotation features.
Always perform short test sessions and keep a simple log (mount, camera, route, notes). Use reviews from BikeRadar, OutdoorGearLab, DC Rainmaker and similar outlets for baseline expectations, but confirm with your own tests and manufacturer guidance.
If you must include numeric comparisons in your own reporting, provide test conditions and raw data (accelerometer logs or unedited footage) so others can assess context.
- Test mounts on your real routes before committing to long rides.
- Use adapters designed for your camera’s interface (1/4-20, proprietary plates, etc.).
- Confirm that your chosen helmet and mounting method retain necessary safety certifications.
- Document and compare objective data (accelerometer) and subjective footage results.
FAQ
Can I use a helmet mount for very rough mountain biking?
Yes, but expect helmet-mounted footage to reflect head motion and any helmet vibration. If your helmet manufacturer allows attachment, try short tests and compare footage to a chest-mounted rig; for aggressive trails a chest mount often yields smoother, more watchable footage.
Are chest strap mounts comfortable for long rides?
Comfort varies with harness design and individual body shape. Rather than relying on a single duration figure, test different harnesses on rides of increasing length and adjust strap tension and placement. Watch for chafing or breathing restriction and choose padded, breathable materials when possible.
Do bike mounts damage my bike frame?
Most quality bike mounts use padded clamps and recommend placement on specific tubing. Repeated mounting in the same spot can cause minor cosmetic wear. Follow manufacturer instructions and consider protective tape or padding under clamps for painted or carbon frames.
Is it easy to switch cameras between mounts?
Quick-release systems make swapping fast; for cameras using 1/4-20 or proprietary plates, invest in a matching quick-release adapter to speed transfers. Heavier cameras may need tools or extra care when changing mounts.
Can I use magnetic mounts safely on a bike?
Magnetic mounts can work for low-vibration activities but must be tested under your riding conditions. For high-vibration trails or highway speeds, use mechanical clamps or harnesses unless the magnet system is explicitly rated and tested for those loads.