How to turn on and test your laptop camera including covers and settings

To turn on your laptop camera, open an app like Camera or Zoom and allow camera access in settings. Physical covers must be open. Check camera function in the app or OS settings to confirm it works.
On this page (8 sections)
Part of our guide on magnetic mounts and overheating
Fast facts
- Common camera app
- Windows Camera
- Privacy setting
- On by default
- Camera shutter
- Must be open
- Driver update
- Needed if camera fails
- Typical test time
- 2 minutes
- Access path
- Settings > Privacy > Camera
Remember this
- Open a camera-enabled app or Windows Camera app to start the camera
- Check and allow camera permissions in your OS privacy settings
- Physical shutter or cover must be open to enable the camera
- Test camera function using your OS’s camera app or an online webcam test
- Troubleshoot by updating drivers, checking privacy settings, and restarting
How to enable the camera on Windows laptops
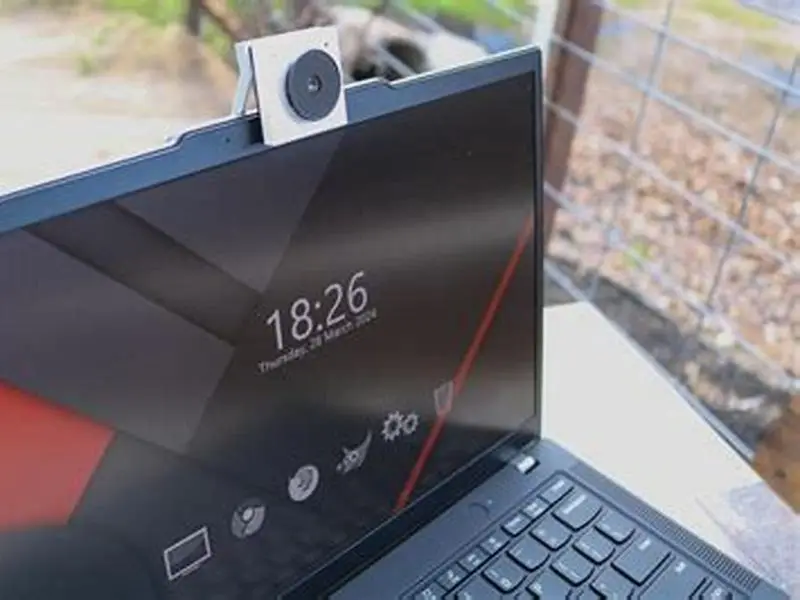
Turn on your laptop camera by launching an app that uses video, such as Zoom, Skype, or the Windows Camera app. This automatically powers on the camera if there are no hardware blocks.
Windows 10 and 11 control camera access through privacy settings. Navigate to Settings > Privacy > Camera and confirm that app access is enabled. If disabled, the camera won’t turn on despite opening apps.
Some laptops feature a physical switch or keyboard function key to enable or disable the camera. Check your laptop’s manual or keyboard for a camera icon key. Pressing it toggles camera power.
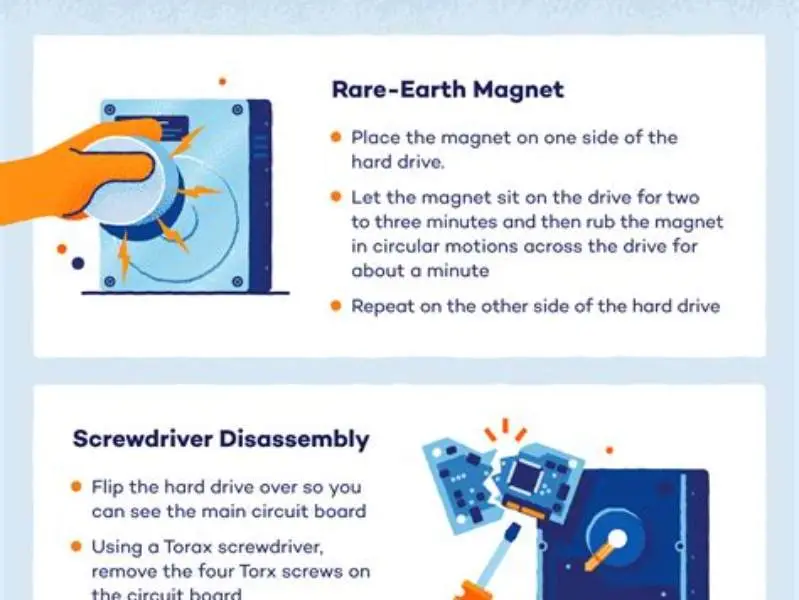
If you cannot find a dedicated key, use Device Manager: open it, expand 'Imaging devices' or 'Cameras,' right-click your camera, and select Enable if disabled. We cover hard drive damage from magnets in its own article.
Some Windows laptops have a camera toggle in the BIOS or UEFI firmware. To check, restart your laptop and enter the BIOS setup by pressing the key shown during startup (often F2, Del, or Esc). Look for a setting related to the integrated camera and ensure it is enabled. If disabled here, Windows cannot access the camera regardless of app or Device Manager settings.
Certain security or enterprise laptops restrict camera use via group policies set by IT administrators. If your laptop belongs to a company or school, contact IT support because these policies prevent enabling the camera manually. You might see an error like 'Camera not available' even if everything else is correct.
| Method | Where to Find It | Effect |
|---|---|---|
| App launch | Zoom, Skype, Camera app | Turns camera on automatically |
| Privacy setting | Settings > Privacy > Camera | Allows or blocks camera access |
| Physical switch/key | Laptop body or keyboard | Enables/disables hardware camera |
| Device Manager | System tools | Enables or disables camera driver |
- Quick app access
- OS-level privacy control
- Hardware toggle for security
- Privacy settings can block apps silently
- Confusing Device Manager settings for novices
- Some laptops lack physical switch
How to test if the camera is working
After enabling the camera, test it with the Windows Camera app by searching 'Camera' in the Start menu. The app displays a live video from the camera if it functions properly. For the detail, see our notes on impact of bike magnets on charging.
Alternatively, use online webcam test websites that show live video feed and audio input. These help verify camera and microphone functionality simultaneously.
Check for a camera indicator light near the lens. It usually turns on when the camera is active. No light often means the camera is blocked, disabled, or malfunctioning.
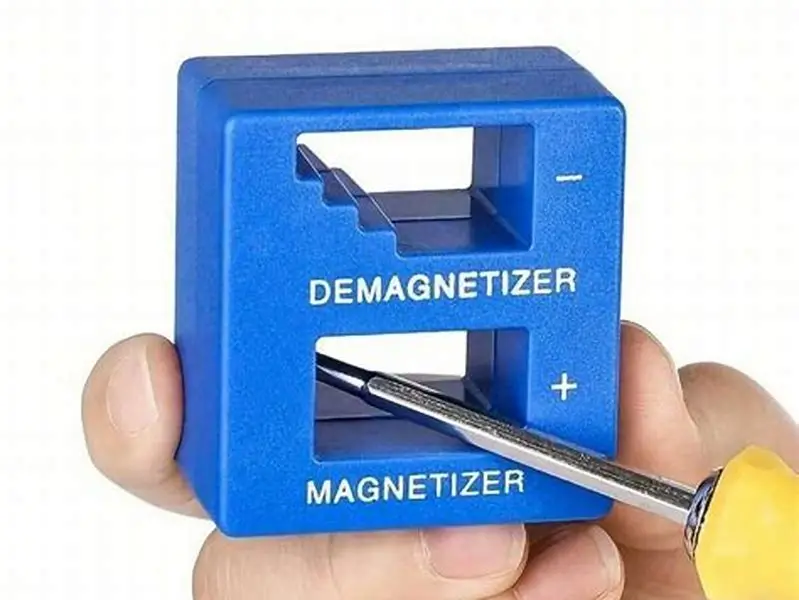
If the video is blurry or dark, clean the lens gently with a microfiber cloth. Dirt or smudges reduce image quality but don’t prevent the camera from turning on. For the detail, see our notes on how to use magnetize demagnetize tool.
Video quality on laptop cameras varies widely. Entry-level models have 720p resolution, while premium laptops often have 1080p or higher. When testing, note if the image is grainy or pixelated, which might mean low-light conditions or a low-quality sensor.
Test the camera with different apps to rule out software problems. If the camera works in the Windows Camera app but not in Zoom, check Zoom’s video settings. Selecting the wrong camera source is a common mistake.
If the camera’s image is upside down or mirrored incorrectly, check app settings or camera driver properties. Some drivers allow you to rotate or flip the image to correct orientation issues.
- Windows Camera App: start app, see live image
- Online Test Sites: verify camera and mic
- Camera Indicator Light: confirms active status
- Lens Cleaning: improves image clarity
How to use physical camera shutters or covers
Many modern laptops include a built-in physical shutter or cover to block the camera lens for privacy. Slide or flip this cover open to use the camera; closing it disables video capture physically.
If your laptop lacks a shutter, consider applying a removable adhesive cover or privacy sticker to block the lens. These prevent accidental recording or spying but need to be removed to use the camera.
A physical cover stops light from reaching the lens. Even if software enables the camera, a closed shutter results in a black or blank video feed.
Check your laptop’s user guide for location and operation of the shutter. Some use a small switch near the camera; others require sliding a tiny panel manually.
If you remove a physical cover temporarily for camera use, remember to close it again immediately after. Leaving it open on public or shared computers can expose you to privacy risks.
Some physical covers are thick and can interfere with autofocus or automatic adjustments. After opening the cover, test the camera image to confirm focus is correct. If blurry, reposition the cover or clean the lens area.
Third-party attachable webcams sometimes come with built-in shutters. These work independently from the laptop camera and can be used as an alternative if the integrated camera lacks a cover.
Clear, practical steps for powering on your laptop camera, testing it, and handling physical covers or common problems.
Basic troubleshooting if camera does not activate
If your camera fails to turn on after enabling it, first verify the physical shutter is open. This often is overlooked.
Restart your laptop to clear minor system glitches. Sometimes, camera drivers or apps hang and need a reboot to fix.
Check Device Manager for camera driver status: an exclamation mark or missing driver indicates a driver problem. Update or reinstall the camera driver from the laptop manufacturer’s website.
Ensure no other app is currently using the camera. Windows grants access to one app at a time. Close all apps that might use the camera and try again.
On rare occasions, antivirus or privacy software might block camera access. Temporarily disable such software to test if it causes the issue.
- Verify the physical camera shutter is open
- Restart laptop and try again
- Check Device Manager for camera driver issues
- Close all apps that may use the camera
- Disable antivirus/privacy software temporarily
How to enable the camera on Mac and other laptops
Mac laptops activate the camera automatically when you open an app using it, like FaceTime or Photo Booth. There is no dedicated toggle or switch on macOS.
Check System Preferences > Security & Privacy > Camera to allow apps permission to use your camera. Apps without permissions can’t activate the camera.
Some laptops from other brands may have proprietary software for camera control. Consult your laptop’s support resources to find how to enable or troubleshoot the camera.
Physical covers may be included on any brand. Follow the same open-to-use rule as with Windows laptops: the shutter must be physically open.
On some Mac laptops, the green camera indicator light is hardwired to the camera. It cannot be disabled by software, ensuring the camera is always visible when active. This prevents covert recording unlike on many Windows laptops.
Chromebooks also activate the camera automatically when an app requests it. Permissions are managed via Settings > Privacy and Security > Site Settings > Camera. Check this if your Chromebook camera won’t activate.
For Linux laptops, camera activation depends on the desktop environment and drivers. Most use standard USB Video Class (UVC) drivers, and the camera can be tested with apps like Cheese or GUVCView.
How to use and manage camera privacy settings in your OS
Both Windows and macOS have privacy controls to allow or block camera access on an app-by-app basis. This prevents unauthorized app use of your camera.
Review privacy settings regularly to ensure apps you trust have permission, and unwanted apps do not. This is especially important after OS updates which sometimes reset permissions.
You can globally disable your camera via these privacy settings if you want to prevent all apps from accessing it temporarily, without using physical covers.
Software blocks do not turn off the camera hardware or indicator light. For total privacy, pair software blocks with a physical cover.
| Feature | Windows 10/11 | macOS |
|---|---|---|
| Global Camera Access Toggle | Settings > Privacy > Camera | System Preferences > Security & Privacy > Camera |
| App-specific Permissions | Granular controls per app | Granular controls per app |
| Camera Indicator Light | Required by hardware | Required by hardware |
| Physical Cover Needed for Full Block | Recommended | Recommended |
FAQ
Why does my camera show a black screen even when it’s enabled?
A black screen often means the physical shutter is closed or the lens is blocked. Clean the lens and verify the shutter is open. Software issues like drivers or app conflicts can also cause this.
How do I know if my laptop has a physical camera cover?
Check near the camera lens for a small slider or switch. Consult your laptop’s manual for exact details. If none exists, consider buying a stick-on privacy cover.
Can I use the camera if privacy settings block it?
No. Apps won’t access your camera if blocked in privacy settings. You must allow permission or disable the block to use the camera.
What if my laptop camera driver isn’t listed in Device Manager?
Missing drivers cause the camera to not appear. Download and install the correct driver from your laptop manufacturer’s website.
Are there risks in using physical camera covers?
Physical covers prevent video capture but if poorly made, they can scratch the lens. Use covers designed for cameras and keep the lens clean.