How to remove and replace a phone screen protector without dust or bubbles

Remove your old screen protector gently by lifting a corner with tape. Clean the screen thoroughly with alcohol wipes and dust remover. Align the new protector precisely over the screen and apply slowly to avoid bubbles and dust.
On this page (8 sections)
- Remember this
- How to remove the old screen protector safely
- How to clean the screen before applying a new protector
- How to align and apply the new protector to avoid bubbles
- Tips for fixing common application problems
- How to change phone screen protector
- Preventing damage from intense training environments
- FAQ
Part of our guide on tested protection for spin classes
Fast facts
- Typical protector thickness
- 0.2-0.3 mm
- Cleaning solution
- isopropyl alcohol 70%
- Dust removal
- sticky stickers
- Application time
- 3-5 minutes
- Bubble fix method
- soft card
Remember this
- Lift old protector at a corner using tape or nail gently to avoid screen damage.
- Use alcohol wipes and dust removal stickers to clean the screen fully before applying.
- Align the new protector exactly before pressing down gradually from the center outward.
- Fix bubbles by pushing them toward edges with a soft card or cloth.
- Work in a dust-free environment like a bathroom after a hot shower.
How to remove the old screen protector safely
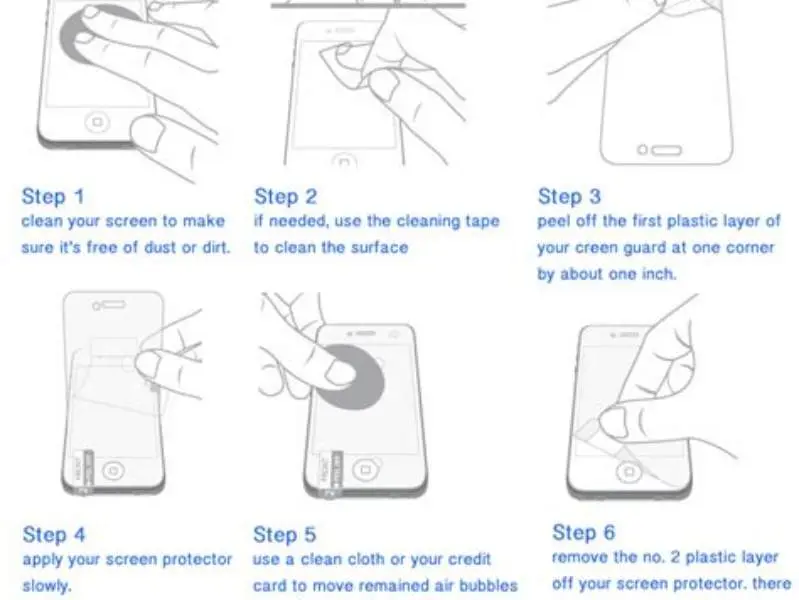
Start by peeling off the old protector slowly. Find a corner and lift it gently using a piece of sticky tape or your fingernail. Avoid sharp objects that could scratch the screen.
If the protector resists, warm it slightly with a hair dryer set to low heat for about 10 seconds. This softens the adhesive and makes removal easier.
Peel back the protector steadily, keeping it flat to prevent stress on the phone screen. Any sudden force risks cracking the glass beneath.
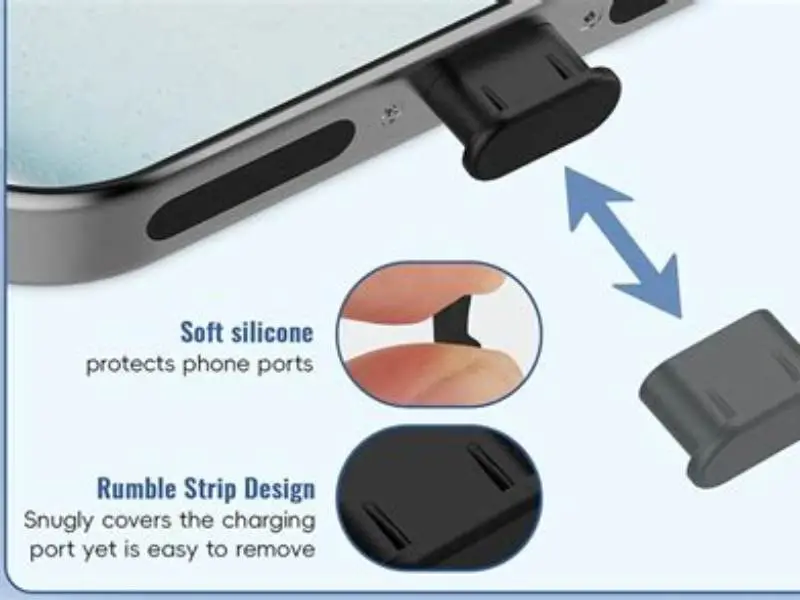
After removal, check the screen for any adhesive residue. This can be removed with a damp microfiber cloth or a small amount of isopropyl alcohol. It helps to understand dustproof plug for iphone 17 pro charging before going further.
Watch for any cracks or chips in the old protector before removal. If it’s badly damaged, protect your fingers with tape or gloves to avoid glass splinters.
If the screen protector is tempered glass, peeling too quickly can cause it to shatter. Slow, steady lifting is key to avoid this, especially near the edges where stress concentrates.
How to clean the screen before applying a new protector
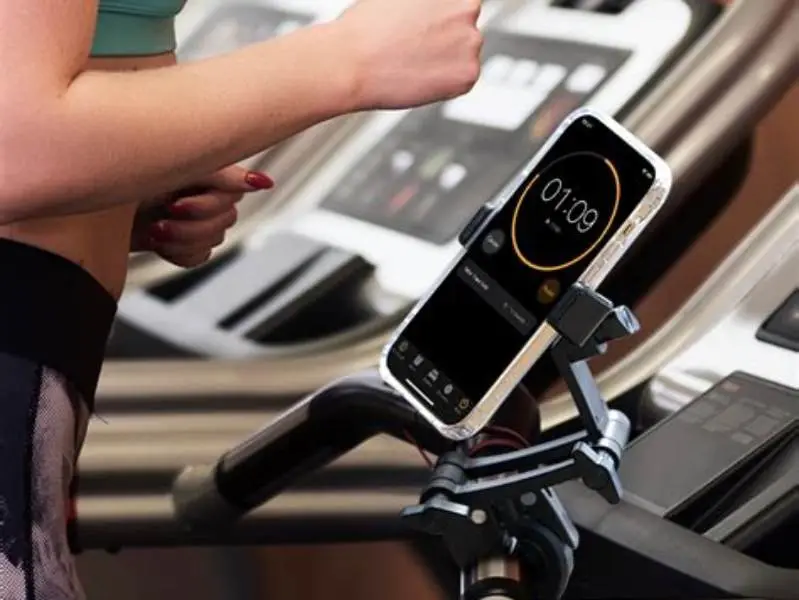
Cleaning is critical to avoid dust or oil trapped under the new protector. Use an isopropyl alcohol wipe to remove grease and oils. It helps to understand secure treadmill phone mount before going further.
Follow up with a microfiber cloth to dry the screen and remove streaks. Make sure you do this in a dust-free place.
Use dust removal stickers or clear sticky tape to pick up any tiny dust particles that remain. Even a speck will cause bubbles or bumps.
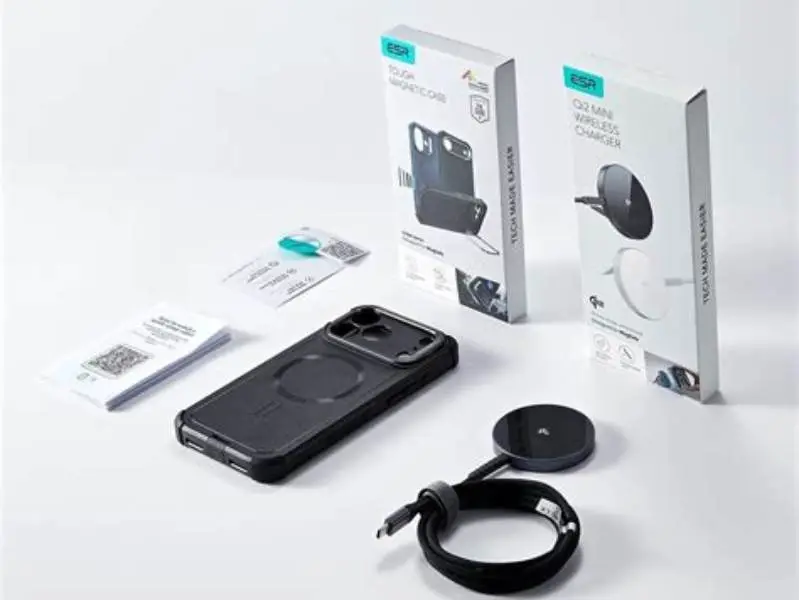
Good places are bathrooms right after a hot shower, where humidity settles dust, or a sealed room with minimal airflow. People in this spot often ask about qi2 charging pad for iphone 14 pro max as well.
Avoid breathing directly on the screen while cleaning. Your breath adds moisture and dust, which can settle on the surface and cause bubbles later.
Use a fresh microfiber cloth for the final wipe. Old or dirty cloths can leave fibers on the screen, defeating your cleaning effort.

ARCHXX Screen Wipes for Electronics
No isopropyl alcohol concentration stated to confirm cleaning effectiveness for screen preparation.
How to align and apply the new protector to avoid bubbles
Align the new protector by holding it above the phone screen without letting it touch. Check edges and cutouts for exact placement.
If your protector has alignment tabs or a guide frame, use them to position it precisely before sticking.
Lower the protector slowly from one edge, pressing gently as you go. This helps air escape and prevents bubbles.
Use a soft, firm card or the included squeegee to push out any bubbles from the center toward the edges.
If the protector does not have built-in tabs, you can attach small pieces of tape to the top edge as handles. This gives better control during alignment.
Check the screen from multiple angles as you lower the protector. Reflections help spot dust or bubbles before they get trapped.
If you see bubbles forming immediately, gently lift the protector a little and reapply slowly to let air escape.
- Hold protector above screen and check alignment.
- Place one edge down gently, then lower the rest.
- Press down slowly while smoothing out air bubbles.
- Use squeegee or soft card to push out remaining bubbles.
Removing and replacing your phone screen protector without bubbles or dust requires slow, careful handling and a dust-free space.
Tips for fixing common application problems
If bubbles appear after application, use a soft card to gently push them toward the edges. Small bubbles sometimes disappear after 24-48 hours.
Trapped dust under the protector is harder to fix. If a bubble won’t move, carefully lift the protector from the nearest edge and remove the dust with a sticky tape.
Avoid reapplying protectors multiple times as adhesive weakens and dust can gather on the sticky side.
If the protector wrinkles or misaligns severely, removal and a fresh application may be necessary.
If bubbles remain after 48 hours, they usually indicate dust trapped underneath. Try to lift the protector just enough to slide a piece of sticky tape under and lift out the dust.
Wrinkles often happen when the protector folds slightly during application. Smooth these out immediately with a card; once hardened, wrinkles are impossible to fix.
If you must lift the protector repeatedly, clean the sticky side with a dust removal sticker before repositioning to avoid further dust contamination.
How to change phone screen protector
Changing your phone screen protector begins with carefully lifting the old one using tape or your fingernail. Warm it slightly if it resists.
Clean the screen thoroughly with isopropyl alcohol wipes and dust removers in a low-dust environment like a bathroom after a hot shower.
Align the new protector slowly and carefully, lowering it gradually to prevent trapping air. Use a soft card to smooth out bubbles after application.
If you experience dust or bubbles, attempt bubble smoothing or gentle peeling to fix, but repeated removals increase the chance of damage or dirt contamination.
Check your phone's screen for any stubborn residue after removing the old protector. Even small bits left behind can cause bubbles or poor adhesion with the new one. Use a microfiber cloth dampened with isopropyl alcohol to gently wipe the surface before letting it dry completely.
If your phone has curved edges, select a screen protector designed specifically for that model. Flat protectors often lift at the edges on curved screens, causing bubbles and peeling. For example, Samsung Galaxy phones with curved screens require flexible or tempered glass protectors with curved edges.
When you place the new protector, avoid pressing down hard all at once. Start from the center and gently push outward to spread the adhesive evenly. This prevents uneven adhesion and reduces the risk of dust or bubbles. Check under strong light after application to spot any imperfections and address them quickly.
| Method | Effectiveness | Ease of Use | Recommended for |
|---|---|---|---|
| Isopropyl alcohol wipe | High | Medium | Removing grease & oils |
| Microfiber cloth | Medium | High | Removing streaks & drying |
| Dust removal stickers | High | Medium | Removing dust particles |
| Compressed air | Medium | Low | Blowing off loose dust |
Preventing damage from intense training environments
If you mount your phone during spin classes, outdoor biking, or workouts with lots of vibration, a high-quality screen protector is essential to protect from sweat and impacts.
Look for protectors with shatter-resistance or reinforced edges to reduce chipping from drops or knocks on bike mounts or gym equipment.
Clean and replace your protector regularly as sweat and dirt degrade adhesion and clarity, increasing the chance of damage.
Magnetic mounts can cause slight vibration or movement; choose a protector that adheres well and does not peel easily under repeated shocks.
FAQ
Can I reuse a screen protector after removing it?
Reusing a screen protector is generally not recommended. Adhesive weakens after removal, and dust or oils can stick to the underside, causing bubbles or poor fit.
How can I avoid dust getting under the screen protector during application?
Apply the protector in a low-dust environment like a bathroom after a hot shower. Use dust removal stickers or tape to pick up particles just before application.
What if bubbles appear under the protector after installation?
Small bubbles can be pushed out toward the edges with a soft card. Some disappear after 1-2 days. Large or stubborn bubbles may require lifting the protector gently to remove trapped dust.
How do I know when to replace my phone’s screen protector?
Replace it when you notice scratches, peeling edges, or cloudiness that affects screen visibility or touch sensitivity. Regular gym users should check every 6-12 months.
Is warming the screen protector with a hair dryer safe?
Yes, warming softly on low heat for about 10 seconds loosens adhesive without damaging the screen. Keep dryer moving and avoid overheating.