How to mount a camera on gym gear or a tripod for steady workout filming

Use a ¼-20 threaded clamp or arm to attach your camera to rack uprights, J-hooks, or a tripod. Tighten until the mount doesn't shift when you tap it. Position the lens 3 to 5 feet from the bar path at hip height for squats and deads, chest height for bench.
On this page (8 sections)
Part of our guide on non-rotating mount for gym bar
Fast facts
- Thread size
- ¼-20 UNC standard
- Clamp range
- 0.5 to 2 inches typical
- Camera distance
- 3 to 5 feet from bar
- Tripod leg angle
- Wide stance, 50-60°
- Neck vs head mount
- Neck is stable, head bounces
Remember this
- Clamp mounts with ¼-20 threads fit most cameras and work on round or square rack tubing up to 2 inches
- Tripods need the head tightened fully and legs spread wide on uneven gym floors
- Neck mounts keep the camera stable during cardio; head mounts bounce with every step
- Test every mount by tapping it hard before you load the bar
- Film from 3 to 5 feet away at hip or chest height depending on the lift
How to mount a camera to a pole or gym rack
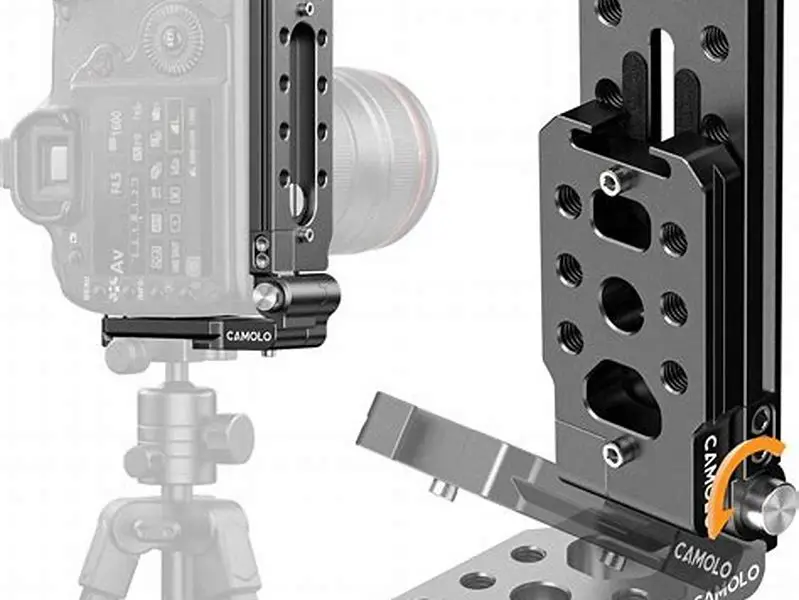
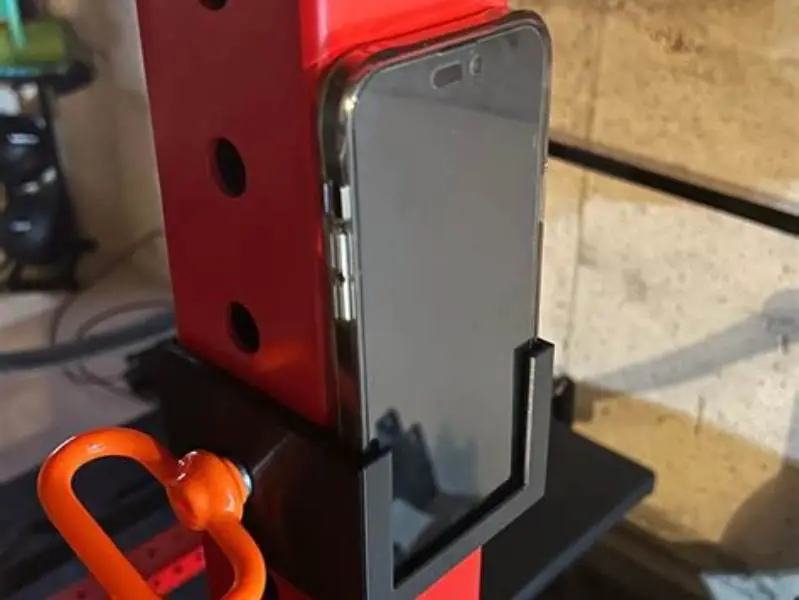
Most power racks and squat stands use 1.5 to 2-inch tubing, round or square. A clamp mount with a ¼-20 threaded post fits any camera or phone with a tripod adapter. The clamp wraps around the upright and locks with a thumbscrew or lever. We use this setup for squats, deads, and bench because it stays put through the whole session and you can reposition it between lifts.
Start by loosening the clamp fully and sliding it onto the upright at the height you want. For squats and deadlifts, mount the camera at hip height so the lens captures your knees, hips, and shoulders in one frame. For bench press, chest height works better: you want to see bar path and elbow angle without the bench blocking the view. Tighten the clamp until it doesn't rotate when you twist it. Then tap the camera body hard with your palm. If it shifts, tighten more.
The ball head between the clamp and camera lets you angle the lens without moving the clamp itself. Loosen the ball head knob, tilt the camera to frame your setup, and lock it tight. Check the frame by standing where you'll lift and looking at the screen. The bar should sit in the middle third of the frame with space above and below. If the lens points up or down more than 10 degrees, the perspective distorts your form.
Some racks have laser-cut holes or numbered uprights. You can't clamp directly over a hole because the clamp teeth don't grip. Move the clamp an inch above or below the hole. If you're filming from the side, mount the camera on the upright opposite your working side so cables and the mount body don't block the shot. We keep the clamp on the rack between sessions: it takes five seconds to thread the camera on when you need it. If that sounds like your situation, read up on best phone tripod for filming workouts next.
How to mount a camera on a tripod
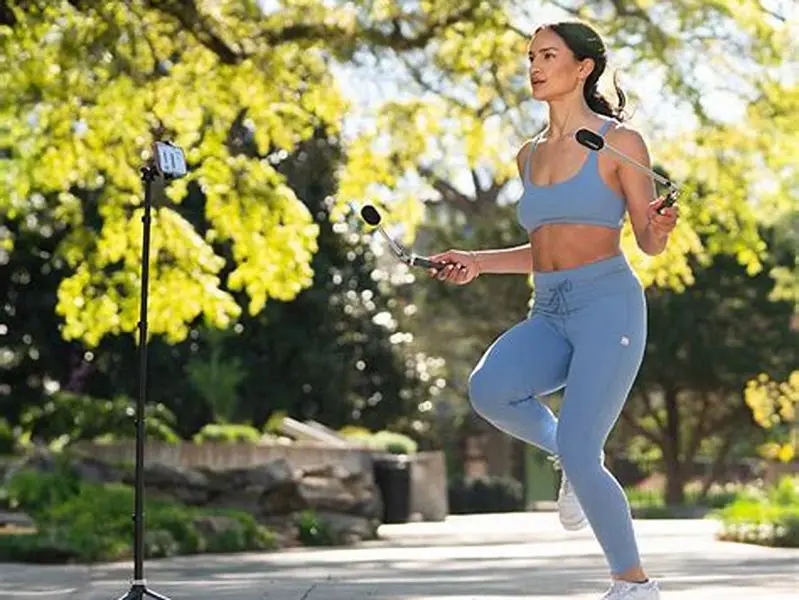
Tripods give you the most control over height and distance, but they fall over on rubber gym floors if you don't set them right. Most tripods use a ¼-20 threaded screw on top of the head. That screw goes into the socket on your camera or phone mount. Turn it until it's finger-tight, then give it another quarter turn with a coin if the camera has a metal socket. Plastic sockets strip if you overtighten.
Spread the legs wide: 50 to 60 degrees from vertical. Narrow legs make the tripod top-heavy. On a gym floor with matting or rubber, push each leg tip down until it bites into the surface. If the floor is hard and slick, tape the feet down with gaffer tape or put a weight on the tripod's center column hook if it has one. A 10-pound plate on a hook drops the center of gravity and keeps the tripod stable when people walk past.
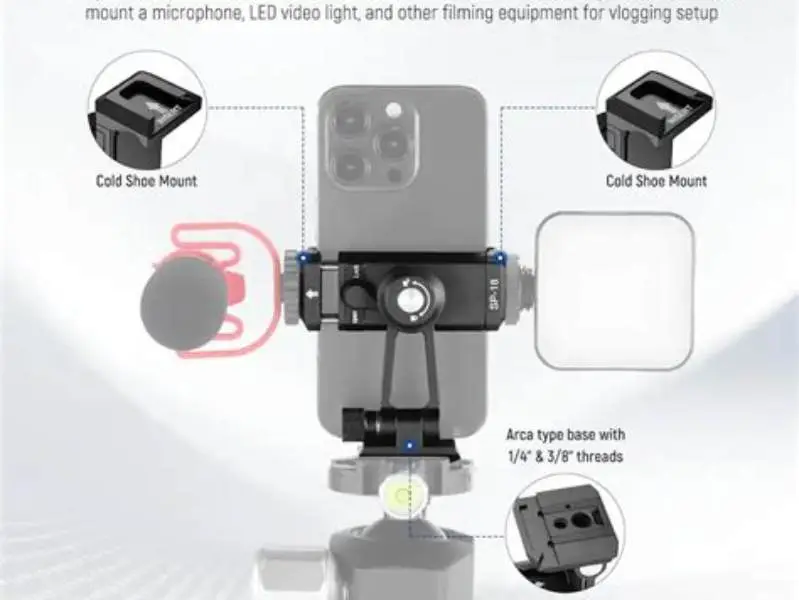
The head is where most tripods fail. A ball head locks with one knob and lets you tilt and pan to any angle quickly. A pan-tilt head uses separate knobs for each axis: slower to adjust but more precise once you've framed the shot. Loosen the head, aim the camera, and tighten every knob fully. Half-tight knobs let the camera sag during a long set. We've lost the last reps of a PR attempt because the tripod head drifted and cut off the bar. Before you commit to anything, it is worth looking at phone clamp with cold shoe for microphone when filming lifts.
Set the tripod 3 to 5 feet from the bar path, the same distance you'd use with a rack clamp. Height depends on the lift. For squats, the camera lens should sit at your hip when you're standing. For deadlifts, knee height catches the bar leaving the floor and locking out. For bench, put the tripod to the side at chest height so the bar, your torso, and your feet all stay in frame. If the gym is crowded, move the tripod closer to the wall or rack so it's not in the walkway.
Differences between neck mount and head mount
A neck mount hangs the camera from a collar around your neck, chest-high, lens pointing forward. A head mount straps the camera to your forehead or the brim of a cap. Both keep your hands free, but they produce completely different footage. Neck mounts stay steady because your torso absorbs most movement. Head mounts follow every head turn and nod, which looks smooth for POV cycling or running but chaotic for lifting.
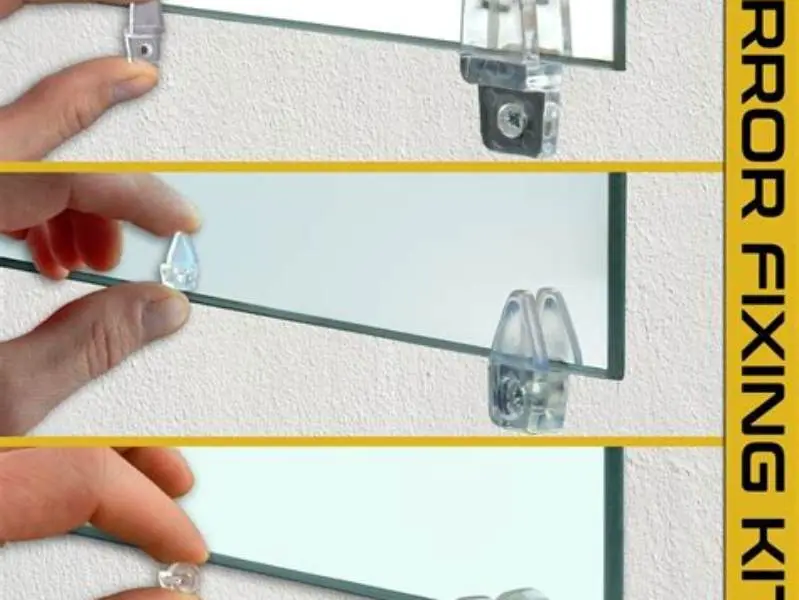
We use neck mounts for treadmill runs, stair climbs, and any cardio where your head stays level. The camera bounces slightly with each step, but the motion is rhythmic and predictable. The lens angle is fixed, so you get a stable forward view. Most neck mounts adjust from 6 to 12 inches below your chin, which frames the path ahead without showing too much floor. They work with phones and action cameras under 10 ounces: heavier cameras pull the collar forward and hurt after 20 minutes. Before you commit to anything, it is worth looking at removing mirrors without damage.
Head mounts magnify every movement. Your head tilts when you check your form in a mirror, turns when you look at the clock, and drops when you're tired. The footage jerks with all of it. They're useful for first-person shots on a spin bike where you're locked in place, or for short clips where you want the viewer to see exactly what you see. We don't mount a camera on our head for squats or deads because looking down to check foot position tilts the lens toward the floor and ruins the shot.
Neck mounts sit lower and catch more of your arms and the equipment in front of you. Head mounts give a true eye-level view but less context. If you're filming yourself, a neck mount is easier to frame because you can glance down and see where the lens points. A head mount requires a test recording to check the angle, and by then you've already started the set.
| Feature | Neck mount | Head mount |
|---|---|---|
| Stability | Steady, slight bounce | Jerky, follows every head turn |
| Best use | Cardio, treadmill, bike | POV cycling, stationary bike |
| Lens angle | Fixed forward, chest-high | Eye level, moves with head |
| Weight limit | Up to 10 oz comfortable | Up to 6 oz typical |
| Lifting suitability | Works for most lifts | Unusable for squats or deads |
Most gym footage fails because the mount shifts mid-set or the angle cuts off your knees—both are preventable with the right hardware and placement.
Tips for secure mounting during movement
Any mount that moves with you has to lock tight enough that the camera doesn't shift but loose enough that it doesn't dig in. Start by adjusting the mount off your body, then put it on and check two things: the camera stays level when you move, and nothing pinches or rubs. A mount that's comfortable standing will feel different after five minutes of lunges or box jumps.
For neck mounts, tighten the collar so it sits snug against your collarbones without choking. The camera should hang straight down: if it tilts left or right, the strap is twisted. Run in place for ten seconds and watch the camera. A little vertical bounce is fine. Side-to-side sway means the strap is too loose or the camera is too heavy for that mount. Tuck any excess strap length under the collar so it doesn't flap.
For arm and wrist mounts, position the camera on the outside of your forearm, lens forward, and tighten the strap until you can slide one finger underneath. Too tight cuts off circulation. Too loose lets the camera rotate when you swing your arm. We've used arm mounts for kettlebell work and sled pushes: they survive the movement as long as the strap has silicone grip strips on the inside. Smooth nylon straps slide no matter how tight you crank them.
For chest harnesses, cross the straps over your shoulders and clip the camera plate in the center of your chest. The lens should point straight ahead when you're standing upright. Tighten the side straps evenly so the harness doesn't ride up when you bend forward. Test it with a bodyweight squat. If the camera tilts down as you descend, the harness is too loose at the waist. Chest harnesses work well for barbell work because your torso stays relatively stable and the camera is close to your center of mass.
Check every mount before you start recording. Press the camera toward your body and then pull it away. It shouldn't move more than a few millimeters. If you're doing high-impact work (burpees, box jumps, sprints) double-check the mount halfway through the session. Sweat loosens straps, and vibration works knots loose.
- Neck mount: snug on collarbones, camera hangs straight, minimal side sway
- Arm mount: one finger fits under strap, silicone grip inside, camera on outer forearm
- Chest harness: even shoulder straps, camera centered, doesn't tilt during a squat
- Test every mount: press and pull the camera before you record, check again mid-session
Camera height and distance for each lift
The best angle depends on what you're trying to see. For squat form checks, you need a side view that captures your knees, hips, and shoulders in the same frame. Mount the camera 3 to 4 feet from the bar path at hip height when you're standing. That distance keeps the bar in frame from the top of your head to the floor without distortion. If you're filming from the front or back, move the camera farther (5 to 6 feet) because the depth of the movement is less pronounced.
For deadlifts, mount the camera at knee height when you're standing, again 3 to 4 feet to the side. The lens should be low enough to see the bar leaving the floor and your hips rising, but not so low that it's looking up at you. An upward angle makes your back look more horizontal than it is. If you're pulling sumo, a front or back angle works better than a side angle because you need to see knee tracking and hip position, and a side view hides one leg behind the other.
For bench press, put the camera to the side at chest height, 4 to 5 feet from the bench. You want to see the bar path from unrack to lockout, your elbow angle at the bottom, and your feet staying flat. A camera mounted too high makes it look like you're benching downhill. Too low and the bench itself blocks your torso. If you're benching alone and need to check leg drive, a second camera at foot level helps, but one side angle usually catches enough.
For overhead press, mount the camera at shoulder height, 4 feet away. The bar travels vertically, so you need to see it clear your head and lock out overhead without cutting off the top of the frame. A front or back angle is less useful here because you can't see bar path. For Olympic lifts (snatch, clean, jerk) move the camera back to 6 to 8 feet and raise it to chest or shoulder height. The bar moves fast and travels far, so you need more space in the frame.
| Lift | Camera height | Distance from bar | Key angles captured |
|---|---|---|---|
| Squat | Hip height standing | 3-4 feet side | Knees, hips, shoulders, bar path |
| Deadlift | Knee height standing | 3-4 feet side | Bar leaving floor, hip rise, lockout |
| Bench press | Chest height | 4-5 feet side | Bar path, elbow angle, foot position |
| Overhead press | Shoulder height | 4 feet side | Bar clearing head, lockout, torso lean |
| Olympic lifts | Chest height | 6-8 feet side | Full bar travel, catch position |
What to check before you press record
Walk through the lift with an empty bar or no weight and watch the screen. Your whole body should stay in frame from setup to lockout. If your head or feet disappear at any point, adjust the camera height or distance. This takes ten seconds and saves you from losing a good set because the angle was wrong.
Check the lighting. Overhead gym lights create shadows under your chin and chest that hide your torso position. If the camera is facing a bright window or mirror, your body will look dark and underexposed. Reposition the camera so the light is behind it or to the side, not behind you. Most phones and cameras auto-adjust exposure, but they can't fix a backlit shot.
Make sure the lens is clean. Chalk dust, fingerprints, and sweat smudges blur the image. Wipe the lens with your shirt or a microfiber cloth before you start. If you're using a phone, turn off notifications so a call or text doesn't stop the recording mid-set. Enable airplane mode or Do Not Disturb. We've lost PRs because a notification dropped the recording.
Test the mount one more time. Tap the camera body hard from the side and front. Shake the rack or tripod. If the camera shifts, you'll see it in the footage and the whole recording is wasted. Tighten every knob, strap, and clamp. Then record a five-second test clip, play it back, and check that the angle, framing, and exposure look right. Fix anything now, not after your working sets.
- Walk through the lift and check that your whole body stays in frame
- Position the camera so light is behind or beside it, not behind you
- Wipe the lens and turn on airplane mode or Do Not Disturb
- Tap and shake the mount to confirm it's tight
- Record a short test clip and play it back before you start
FAQ
Can I mount a phone without a case to a clamp mount?
You can if the clamp has rubber jaws that grip the phone body directly, but most clamps use a ¼-20 threaded post that requires a phone case or adapter with a tripod socket. A bare phone has no mounting point. We use a thin case with a built-in threaded insert: it adds almost no bulk and threads directly onto any standard mount.
How do I keep the camera from shaking when I rack the bar?
Mount the camera on the opposite upright from where you rack, or move it one hole higher or lower than the J-hooks. The impact travels through the upright when you rack, but it attenuates quickly. A clamp mounted a foot above or below the hooks stays steadier than one right next to them. Tripods don't shake from racking unless they're touching the rack.
What's the best camera angle for checking squat depth?
A side angle at hip height, 3 to 4 feet away, is the only angle that shows depth clearly. The crease of your hip has to drop below the top of your knee. A front or back angle hides that line behind your legs. If you need to check both depth and knee tracking, film from the side first, then switch to a front angle for a second set.
Do I need a gimbal for filming lifts?
No. A fixed mount on a rack or tripod is steadier than a gimbal because the camera doesn't move at all. Gimbals smooth out walking or handheld motion, but they add weight, cost, and complexity. We've never needed one for form checks or lift footage. Save the gimbal for tracking shots or walk-and-talk content.
Can I use a suction cup mount on a gym mirror?
Only if the mirror is clean, flat, and you're not touching the rack or bench during the lift. Suction cups fail on dirty glass or textured surfaces, and vibration from racking or dropping the bar can shake them loose. We've had suction mounts fall twice in the middle of sets. A clamp on the rack or a tripod is more reliable.
How tight should I make the tripod head knob?
Finger-tight plus another quarter turn. The head shouldn't move when you press down on the camera from above. If you can still tilt the camera with light hand pressure, tighten more. Over-tightening can strip plastic knobs on cheap tripods, so stop when resistance becomes firm. Metal knobs can handle more torque.