How to Mount an Action Camera on a Bicycle Helmet Safely

Clean the helmet surface with isopropyl alcohol, let it dry completely, press the adhesive mount firmly for 30 seconds, then wait 24 hours before attaching the camera. Curved mounts work on most helmets; flat mounts need a smooth section at least 2 inches wide.
On this page (8 sections)
- Remember this
- Types of helmet mounts compatible with bike helmets
- Steps to prepare helmet and camera mount surfaces
- How to attach mounts securely without damaging helmet
- Safety and comfort considerations when mounting
- Tips for stable footage and avoiding mount failure
- When helmet mounting isn't the best option
- FAQ
Part of our guide on phone mount for 2 inch squat rack tube
Fast facts
- Cure time
- 24 hours before use
- Mount placement
- Top-front shell, centered
- Adhesive temperature
- 60-90°F for bonding
- Surface prep
- Isopropyl alcohol, 70% minimum
- Minimum flat area
- 2 inches diameter
- Tether test period
- First 3 rides
Remember this
- Wait 24 hours after mounting before riding with the camera attached
- Curved adhesive mounts fit vented and rounded helmets better than flat bases
- Mount cameras on the top-front shell, never on vents or the rear third
- Test the mount with a tether for the first three rides
- Helmets with foam coverage or textured shells need strap mounts instead
Types of helmet mounts compatible with bike helmets
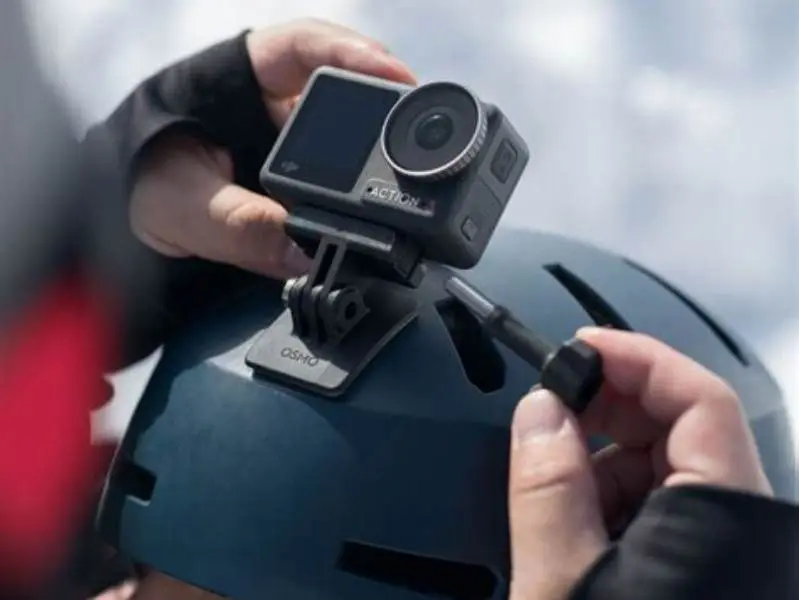
Adhesive mounts come in two shapes: flat and curved. Curved mounts with a radius between 100mm and 150mm fit most road and mountain bike helmets, which have rounded top shells. Flat mounts need a smooth patch at least 2 inches across and work on commuter helmets with flatter profiles. The adhesive is usually 3M VHB tape, a foam-core double-sided tape that bonds to polycarbonate and ABS shells.
Strap mounts wrap around helmet vents using adjustable silicone or rubber bands. They sit on top of the shell and tighten over the gaps. These suit helmets with heavy venting or foam coverage where adhesive won't stick. The camera sits higher and catches more wind, but you can reposition them without residue.
Chin mounts clamp to the front edge of full-face or enduro helmets. They're rare on road helmets, which lack the chin bar. Side mounts attach near the temple and give a first-person angle, but they shift your head's center of gravity noticeably. We avoid them on lightweight helmets.
Most action cameras use a two-part system: a base that stays on the helmet, and a quick-release buckle that clips the camera in. The base is what you're mounting. Check that your camera's mounting pattern matches: GoPro, DJI, and Insta360 share the same three-prong interface, but older models and some budget brands use proprietary clips. For the detail, see our notes on threading a lanyard through loops.

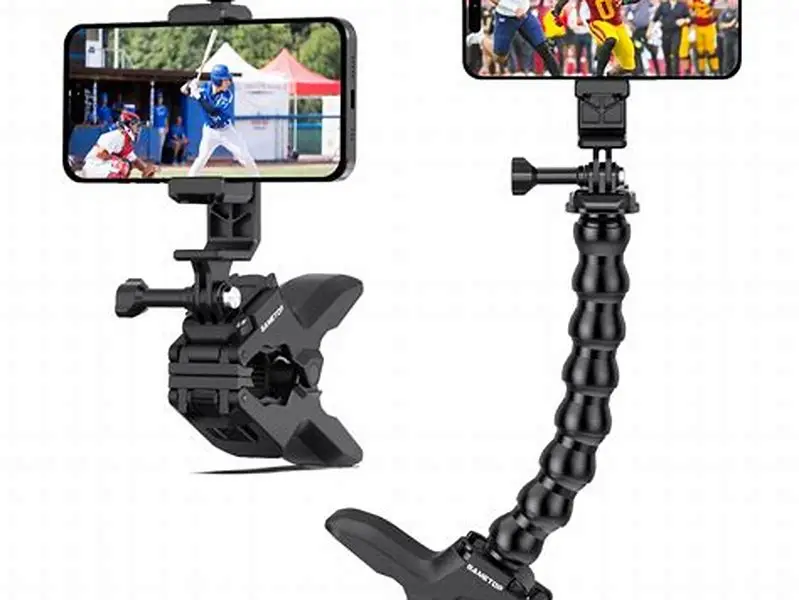
Sametop Helmet Adhesive Mounts Curved Sticky Flat Attachment for GoPro
Secures your action camera on a curved helmet surface with industrial-strength 3M VHB 4991 adhesive backing for reliable hold.
Steps to prepare helmet and camera mount surfaces
Wipe the mounting spot with isopropyl alcohol at 70% concentration or higher. Household cleaners leave a film that blocks adhesion. Pour the alcohol onto a lint-free cloth, not directly onto the helmet, and rub the area for 10 seconds. Let it air-dry for 2 minutes. The surface should look matte, not shiny.
Remove any stickers or clear coats in the mounting zone. Some helmets have a UV-protective layer that peels under load. Scratch it lightly with your fingernail: if it flakes, sand it off with 400-grit sandpaper until you reach bare plastic. Wipe again with alcohol afterward.
Warm the helmet and the mount to 70-80°F if you're working in a cold garage. Adhesive bonds poorly below 60°F. Set them in the sun or near a heater for 10 minutes. Don't use a hair dryer directly on the mount's adhesive backing; the heat degrades the foam core. We go through phone holder for galaxy s22 step by step elsewhere on the site.
Peel the red liner off the adhesive pad just before you're ready to press. Touching the exposed adhesive transfers oils that weaken the bond. If you hesitate and set the mount down sticky-side up, start over with a fresh mount. The initial bond forms in seconds.
- Wipe the shell with isopropyl alcohol and let it dry 2 minutes
- Remove any stickers or UV coating in the mounting area
- Warm helmet and mount to 70-80°F if below 60°F outside
- Peel adhesive liner only when ready to press immediately
How to attach mounts securely without damaging helmet
Press the mount onto the helmet's top-front section, centered between the vents. Avoid the rear third, where your head tilts back and applies leverage. The front captures road or trail ahead without the camera tipping into your field of vision. Push down firmly with both thumbs for 30 seconds, applying 10-15 pounds of pressure. You'll feel the adhesive compress slightly.
Hold the mount in place for another 30 seconds without shifting it. Sliding even a millimeter during the bond window traps air and creates a weak spot. If the mount isn't aligned, peel it off within the first minute and start over with a new adhesive pad. Once cured, removal usually damages the helmet shell. The other half of this decision is secure mount for workout racks.
Set the helmet on a flat surface where it won't be moved. Don't hang it or lean it against a wall. The adhesive needs 24 hours at room temperature to reach full strength: longer if it's cold. Some riders tape over the mount with masking tape to keep it from shifting if the helmet gets bumped. Remove the tape after 24 hours.
Helmets with an EPS foam liner showing through large vents won't hold adhesive mounts reliably. The foam compresses under load, and the plastic shell flexes around it. If more than half the mounting area is over foam rather than solid shell, use a strap mount instead. Check by pressing the area with your thumb: solid shell doesn't give.
Most action camera mounts fail because riders skip the 24-hour cure or place them on vents that flex under load.
Safety and comfort considerations when mounting
A camera and mount together add 150-200 grams to the helmet, most of it high and forward. That shifts the center of gravity and increases rotational force in a crash. Full-face and enduro helmets distribute the weight better than ultralight road helmets, which are designed assuming no added mass. If your neck feels strained after 15 minutes, the camera position is too far forward or too high.
Mounts placed over vents block airflow. A camera sitting directly above the front vent cuts cooling by roughly 20-30% on a hot climb. Move it slightly to one side if you overheat easily, or accept the trade-off. Rear-mounted cameras avoid this but catch your back and shoulders instead of the road.
Some helmets have MIPS or similar rotational-impact liners that slip independently of the shell. Adding a mount stiffens the shell locally and can reduce that slip in a crash. The safety effect isn't documented well. We keep mounts small and favor strap types on MIPS helmets when possible.
Run a tether from the camera to a helmet strap or your jersey collar for the first few rides. Use a 6-inch loop of paracord or the leash that comes with some cameras. If the mount fails, the tether keeps the camera from hitting the rider behind you or landing under your wheel. After three rides without movement, the mount is proven.
Check local laws before mounting a camera. Some regions classify helmet-mounted cameras as projections that increase injury risk in a crash and ban them in sanctioned events. Commuter and recreational riding is usually exempt, but road races often are not.
| Helmet type | Base weight | Added camera weight | Neck strain threshold |
|---|---|---|---|
| Road (ultralight) | 200-250g | 150-200g | 15-20 min rides |
| Mountain (trail) | 300-350g | 150-200g | 30+ min rides |
| Commuter | 350-400g | 150-200g | No limit typical |
| Full-face (enduro) | 900-1100g | 150-200g | No limit typical |
Tips for stable footage and avoiding mount failure
Point the camera 5-10 degrees below horizontal so the horizon sits in the top third of the frame. Helmets tilt forward slightly when you're in a riding position, and the camera follows. A level camera while standing becomes sky-focused while riding. Test this by recording 30 seconds on a stand before your first ride, then adjusting the mount angle.
Vibration comes from the helmet shifting on your head more than from the mount itself. Tighten the retention system until the helmet doesn't rock when you shake your head. Loose helmets produce footage that bobs with every pedal stroke. Helmets with ratchet adjusters hold tighter than simple strap systems.
Adhesive mounts fail most often in the first hour of use or after several months. Early failures come from rushed curing or dirty surfaces. Late failures come from UV degradation of the adhesive and thermal cycling. If you store the helmet in a hot car or garage above 100°F, the adhesive softens and creeps. Strap mounts avoid this.
Check the mount before every ride by gripping the base and trying to twist it. It shouldn't move. If it does, remove the camera and let the adhesive cure longer, or replace the mount. A failing mount usually lifts at one edge first. You'll see a gap or a color change in the adhesive. Don't ride with a compromised mount; a falling camera can cause a crash if it lands in front of your wheel.
Action cameras with image stabilization produce smoother footage than older models, but stabilization can't fix a loose mount. If your footage shows jittering faster than 10 Hz, the mount is flexing. Curved mounts flex less than flat mounts on rounded helmets because the load spreads across more surface area. Add a second adhesive pad under the mount if you have room.
- Angle: Set camera 5-10° below horizontal when standing; test 30 seconds before riding
- Retention: Tighten helmet cradle until it doesn't rock when you shake your head
- Pre-ride check: Twist the mount base firmly; no movement means secure
- Stabilization: Use camera software stabilization but fix mount flex first
- Replacement: Swap the mount if you see edge lifting or adhesive color change
When helmet mounting isn't the best option
Chest mounts keep the camera lower and capture your hands and the front wheel, which gives better context than a helmet view. The footage is steadier because your torso moves less than your head. Downside: the camera points where your chest points, not where you're looking, so you miss anything you glance at without turning your shoulders.
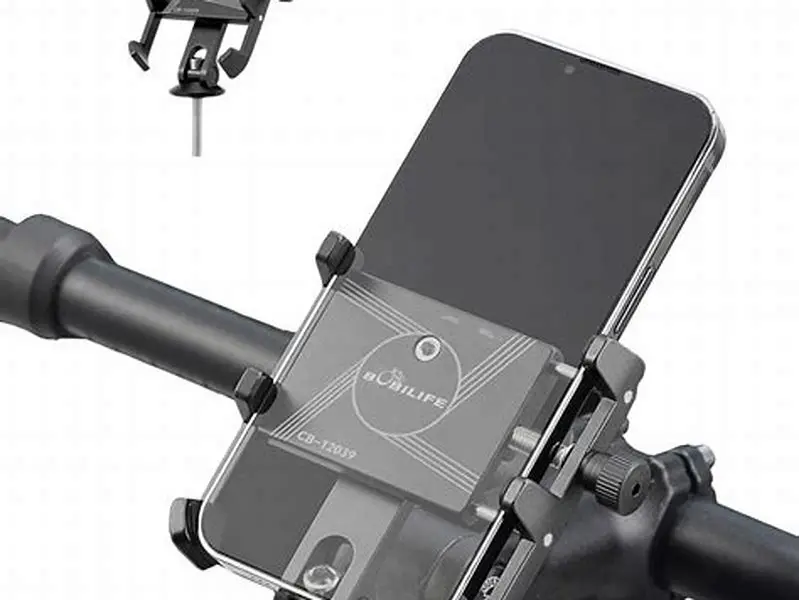
Handlebar mounts put the camera closer to the action and eliminate neck load. They work well on mountain bikes with suspension forks, which damp vibration, but road bike footage shows every paving seam. A camera mounted to the stem or bars adds 0 grams to your helmet and doesn't affect head position in a crash.
Helmet mounts make sense when you need a first-person perspective or when the trail or traffic is too rough for a bar-mounted camera. Riders filming technical descents or documenting close passes in traffic prefer helmet mounts. Riders filming scenery or race footage usually mount elsewhere.
- Captures true first-person perspective
- Follows head movement and gaze direction
- Stays out of the way of hands and controls
- Works on all bike types without frame mounting
- Adds weight high on the helmet
- Blocks airflow over front vents
- Can strain neck on long rides
- May void helmet warranty
FAQ
Can I reuse an adhesive mount after removing it from a helmet?
No. The adhesive loses most of its strength once pulled off, even if it looks intact. The foam core compresses during the first bond and won't recover. Mount removal also stretches the adhesive unevenly, leaving weak spots. Always use a fresh mount.
Will an action camera mount damage my helmet in a crash?
It can. Hard mounts create a stress point on the shell that may crack on impact instead of deflecting. Some helmet makers say this compromises protection; others say the effect is negligible. Strap mounts reduce this risk because they're designed to break away under load.
How do I remove an adhesive mount without wrecking the helmet?
Heat the mount with a hair dryer on low for 2 minutes to soften the adhesive, then slide dental floss under one edge and saw through the foam layer. Work slowly to avoid gouging the shell. Residue comes off with isopropyl alcohol or adhesive remover. The shell often shows a dull patch where the mount was.
Do I need a different mount for a full-face helmet versus a road helmet?
Only if the surface curve is very different. Full-face helmets tend to have flatter chin areas and more rounded tops. Most curved adhesive mounts flex enough to fit both, but check the fit before sticking. Chin mounts for full-face helmets use a clamp design that won't work on open-face helmets.
What's the point of the two-part buckle system instead of screwing the camera directly to the mount?
The buckle lets you snap the camera on and off in seconds without tools. You can swap cameras mid-ride, remove it for charging, or take it off when locking the bike. Screwed mounts hold tighter but require a screwdriver and risk stripping threads.