How to remove an adhesive dash mount without damaging your dashboard

Remove an adhesive dash mount by gently warming the adhesive to soften it, then slowly prying the mount off using a plastic scraper. Use adhesive remover on residue, avoiding harsh chemicals to protect your dashboard surface.
On this page (8 sections)
Part of our guide on car mount holding phone in thick case
Fast facts
- Heat source temperature
- below 150°F (65°C)
- Typical removal time
- 5-15 minutes
- Adhesive softness depends on
- temperature and brand
- Safe solvents
- Isopropyl alcohol
- Common damage risk
- plastic discoloration
- Tools recommended
- plastic scraper, dental floss
Remember this
- Warm the adhesive with a hair dryer on low heat before removal.
- Use plastic scrapers or dental floss to lift mounts without scratching.
- Avoid acetone or solvents that damage dashboard materials.
- Test adhesive remover on a hidden spot first.
- Clean residue promptly to prevent sticky buildup.
How to remove adhesive dash mount
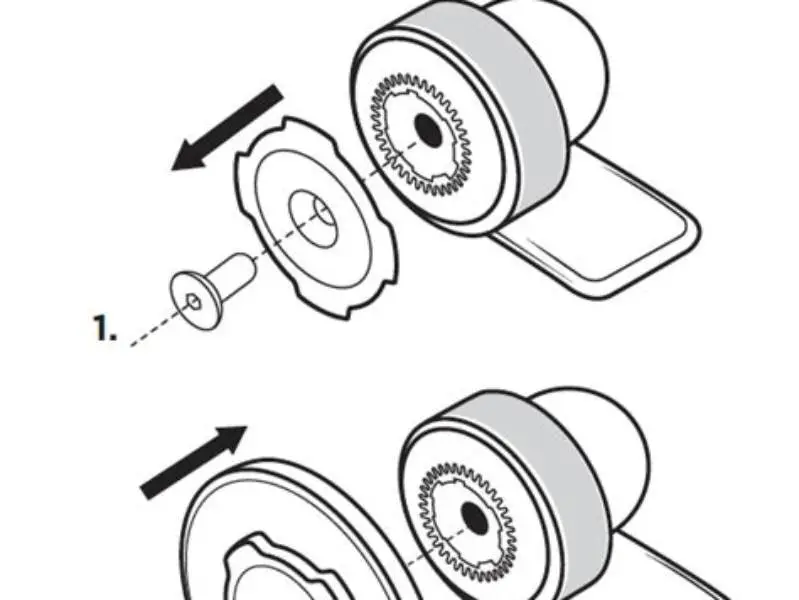
Start by warming the adhesive with a hair dryer set to low heat, usually below 150°F (65°C). This softens the glue, reducing the risk of dashboard damage. Hold the dryer 6-8 inches from the surface, moving it evenly for 2-3 minutes over the mount base.
Use a plastic scraper or a soft-edged tool to gently pry the mount away. Avoid metal tools that scratch or gouge plastic dashboards. If the mount won’t budge, try sliding a length of dental floss behind the mount, sawing gently to separate the adhesive layer.
Once removed, adhesive residue often remains. Apply a small amount of isopropyl alcohol on a microfiber cloth to soften the residue and wipe gently. Avoid acetone or harsh solvents, which can discolor or warp dashboard finishes.
- Warm adhesive with a hair dryer on low heat.
- Use a plastic scraper or dental floss to loosen mount.
- Slowly lift and detach the mount from the dashboard.
- Apply isopropyl alcohol to a cloth and remove residue.
- Wipe surface clean with a dry microfiber cloth.
How to soften or dissolve the adhesive safely
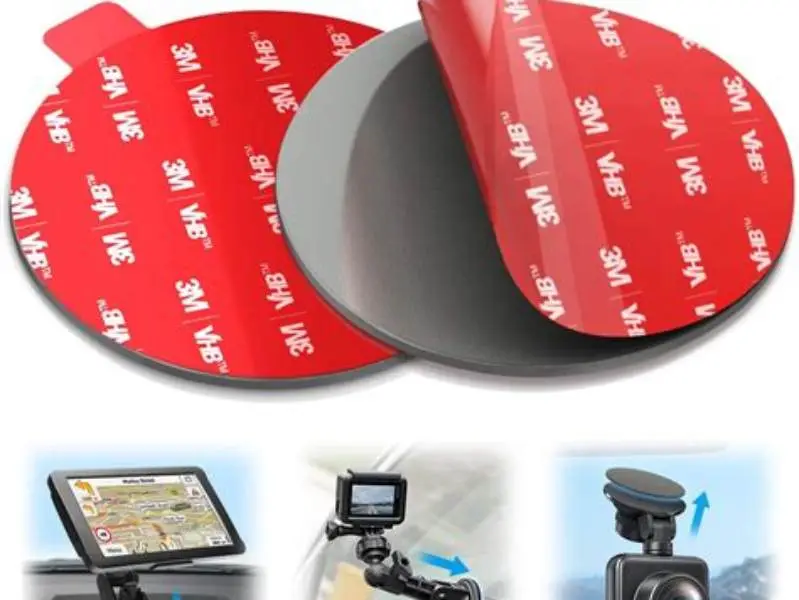
Adhesive softens at temperatures between 120°F and 150°F (49-65°C) depending on its type and age. Gentle warming with a hair dryer or heat gun on low is enough to loosen it without melting dashboard plastics. It helps to understand car mount adhesive pad sized 60mm before going further.
Isopropyl alcohol at concentrations above 70% is widely safe for removing sticky residues without harming most dashboard surfaces. It dissolves many adhesives but evaporates quickly, reducing risk of soaking.
Avoid acetone and paint thinners; they can discolor vinyl, plastic, and painted dashboards within seconds. Test any solvent first on a hidden area to confirm it does not damage or discolor.
If adhesive is stubborn after heat and alcohol, use commercial adhesive removers designed for automotive interiors labeled safe for plastic surfaces. Follow product instructions carefully. It helps to understand preparing textured surfaces for adhesive mounts before going further.
Some adhesives become harder to remove over time as they cure and bond stronger. For mounts left in place several months, the heat temperature may need to be held longer, up to 5 minutes, to fully soften the glue. However, do not increase the heat above 150°F (65°C) to protect the dashboard.
If isopropyl alcohol does not fully dissolve adhesive residue, try applying a mixture of equal parts white vinegar and water on a cloth. Vinegar breaks down some glue types without the harsh effects of acetone. Test vinegar first on a hidden area for colorfastness.
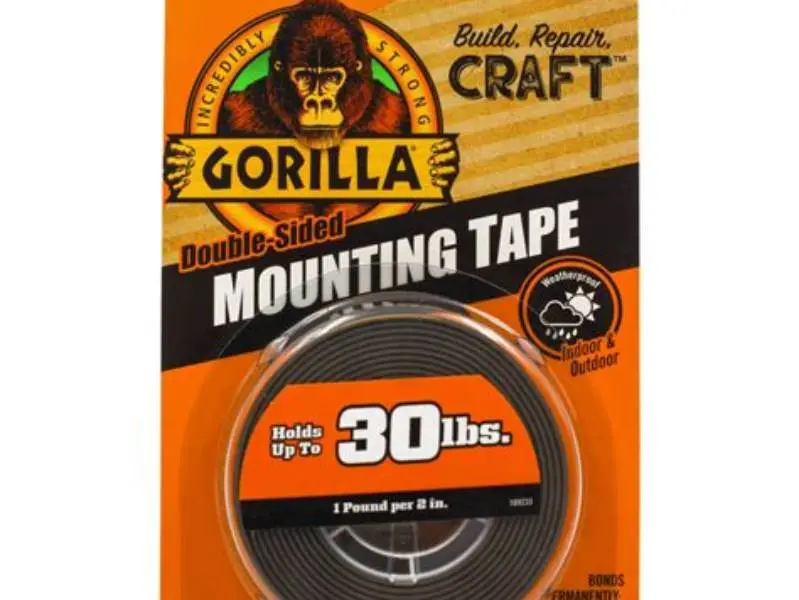
For extremely stubborn adhesive, a plastic-safe adhesive remover containing citrus-based solvents can be effective. These solvents often soften adhesives within 1-2 minutes with minimal risk to dashboard finishes. Always follow product instructions and test on an inconspicuous spot. People in this spot often ask about gorilla mounting tape effectiveness as well.
- Heat level: 120-150°F softens most adhesives.
- Safe solvent: Isopropyl alcohol 70%+ concentration.
- Unsafe solvents: Acetone, paint thinner, nail polish remover.
- Commercial removers: Use only if safe for plastic.
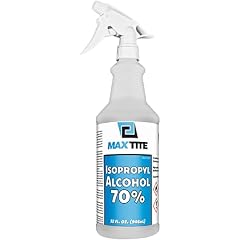
MaxTite 70% Isopropyl Alcohol (32 fl oz)
Removes adhesive residue safely with 70% isopropyl alcohol concentration for effective cleaning without damage
Tools and materials that help remove adhesive residue
A plastic scraper or an old credit card is ideal for lifting mounts without scratches. Thin dental floss or fishing line works well for sliding behind mounts to separate adhesive cleanly.
Microfiber cloths are essential for applying solvents and wiping residue without leaving fibers or scratches. Avoid rough cloths or paper towels that may damage surfaces.
For stubborn residue, adhesive remover products safe for plastics can be useful. Look for ones labeled 'safe for automotive interiors' or 'vinyl-safe.' Always follow usage instructions, including ventilation and wearing gloves.
A hair dryer or heat gun with adjustable low heat is necessary. Do not exceed 150°F (65°C) to avoid dashboard warping or melting.
When working with dental floss or fishing line, use a sawing motion rather than strong pulling. This technique cleanly separates the adhesive without stretching or damaging dashboard materials.
A soft-bristled toothbrush can help scrub away residue gently after solvent application. Use it with light pressure and circular motions. This method is especially helpful on textured or patterned dashboard surfaces where residue can lodge.
If you have access to a plastic razor blade, it can work better than a credit card for loosening thick residue. These blades are designed to scrape adhesives without scratching delicate surfaces. Use at a shallow angle and with care.
- Plastic scraper or old credit card.
- Dental floss or fishing line.
- Microfiber cloths for cleaning.
- Isopropyl alcohol or plastic-safe adhesive remover.
- Hair dryer or low heat gun.
Learn fail-safe methods to remove adhesive dash mounts cleanly without scratches or residue on your dashboard.
Precautions to protect dashboard surfaces during removal
Test heat temperature on a small, hidden dashboard area. Surfaces vary in heat tolerance; older dashboards can crack or discolor above 150°F (65°C).
Avoid pressing hard with scrapers. Resistance means more heat is needed, not force. Excessive pressure can gouge or deform plastic or vinyl.
Never apply solvents directly onto the dashboard. Use a cloth lightly moistened with solvent to avoid seepage into seams or electronics behind the dash.
Work in a well-ventilated area to avoid inhaling fumes from adhesive or solvents.
If uncertain about any step, pause and reassess. Dashboard damage is often permanent and expensive to fix.
Dashboard materials vary widely. Some older vinyl dashboards can crack with minimal heat exposure, while modern plastics handle low heat better. Always err on the side of lower temperatures and longer application times.
When scraping the mount or residue, angle the scraper away from the dashboard surface to minimize gouging risk. Avoid twisting or levering motions that concentrate force on one spot.
If the dashboard has delicate paint or finishes, cover the surrounding area with painter’s tape before applying solvents. This precaution prevents accidental discoloration or damage outside the mount area.
- Heat test on hidden spot first.
- Use gentle pressure with scrapers.
- Apply solvents sparingly on cloth, not directly.
- Ventilate workspace well.
- Pause if unsure at any step.
How to remove adhesive dash mount without damage on rough roads
If your dash mount drops off on bumps, adhesive failure is likely. Choose an adhesive rated for vibration and temperature variations next time.
Before removal, note if existing adhesive is brittle or gummy. Brittle adhesive cracks and flakes easily; gummy adhesive softens but remains tacky. Each type requires slightly different removal pressure and solvent choice.
Start removal using the previously described heat, scraper, and alcohol method. For brittle adhesive, work gently to avoid fracturing dashboard plastic. For gummy residue, use slightly more alcohol to dissolve.
Consider replacing with mounts using mechanical fasteners or vent clips if road vibrations are severe. Adhesive mounts work best on flat, clean, stable surfaces.
How to remove adhesive dash mount
Adhesive dash mounts can be stubborn but removing them without damage is manageable with patience. Begin with heat, then gentle prying, and finish with solvent cleaning.
Observe the mount and dashboard condition as you proceed. If the plastic or vinyl looks stressed, stop and reapply heat or solvent. Rushing risks scratches or discoloration.
Residue removal is often the last and most time-consuming step. Use isopropyl alcohol and microfiber cloth repeatedly until all stickiness is gone. Residue left behind can attract dust and dirt.
If residue persists after multiple attempts, a plastic-safe commercial remover is your next option. Make sure it specifically states dashboard or plastic safe to avoid damage.
FAQ
Can I use nail polish remover to remove adhesive residue?
Nail polish remover usually contains acetone, which can damage dashboard plastics and vinyl. It's safer to use isopropyl alcohol or a product labeled safe for automotive interiors.
How long does it take to remove an adhesive dash mount?
Removal typically takes between 5 and 15 minutes, depending on adhesive type, mount size, and how carefully you work to avoid damage.
Will heating the adhesive damage my dashboard?
Heating below 150°F (65°C) is generally safe for most dashboards. Always test on a hidden area first to ensure no discoloration or warping occurs.
What if the adhesive residue is sticky after cleaning?
Repeat the cleaning with isopropyl alcohol. If stickiness remains, a plastic-safe commercial adhesive remover can help. Avoid harsh solvents to protect the surface.
Can I reinstall a dash mount after removal?
Yes, but you must remove all residue and clean the area thoroughly. Use a fresh adhesive pad or a mount designed for reattachment to ensure a secure hold.