How to set up and use a phone gimbal for hands-free workout filming

Mount your phone securely on the gimbal, balance it so motors barely strain, then use workout-specific gimbal modes for smooth filming of lifts hands-free.
On this page (8 sections)
- Remember this
- How to mount the phone on a gimbal for stable filming
- Balancing the gimbal with the phone correctly
- Using gimbal modes for workout movements
- Integrating the gimbal with gym rack mounts or magnetic setups
- Tips for filming lifts smoothly with a gimbal
- How to use gimbal for phone to film lifts and workouts hands-free
- FAQ
Part of our guide on non-rotating mount for gym bar
Fast facts
- Typical motor strain
- less than 10%
- Phone weight range
- 150-250 g typical
- Balance check
- phone remains level once released
- Battery life
- 4-8 hours active use
- Common gimbal modes
- pan, follow, lock
- Mounting height
- 1-1.5 m for gym shots
- Stabilization range
- ±45° tilt and roll
Remember this
- Proper mounting and balancing prevent shaky footage.
- Use gimbal modes suited for workout movements.
- Integrate magnetic or rack mounts for hands-free operation.
- Smooth filming captures clear squat, deadlift, bench form.
- A compatible phone mount or magnetic adapter is essential.
How to mount the phone on a gimbal for stable filming
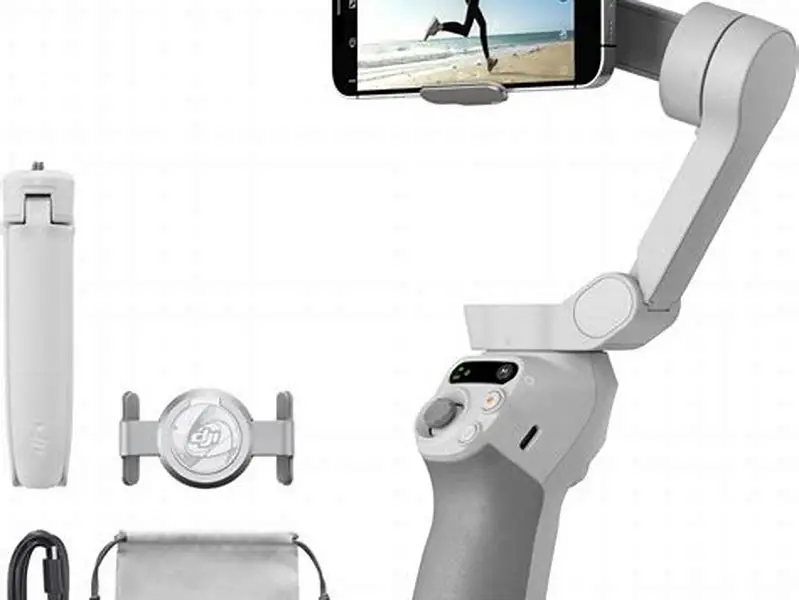
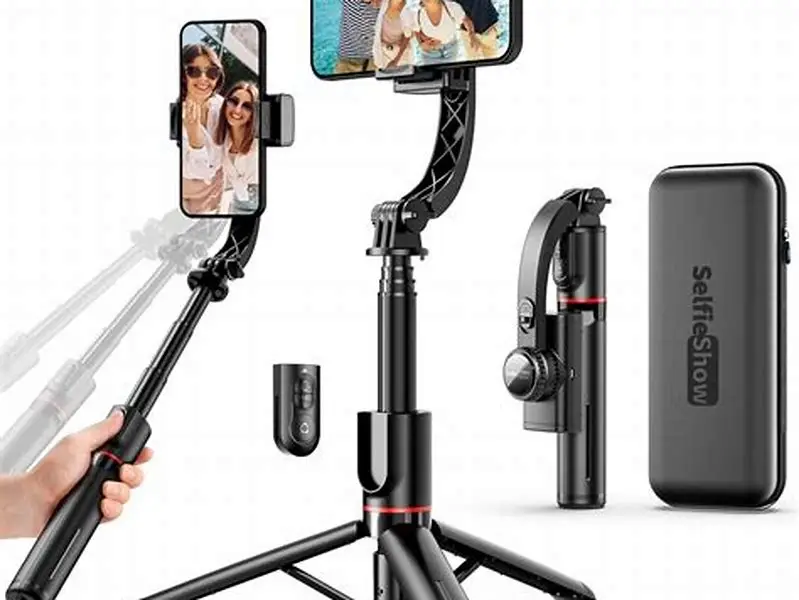
Start by attaching the phone to the gimbal's clamp securely. The clamp must hold the phone without squeezing too tightly or letting it slip, accommodating most phone widths between 65 and 85 mm.
Center the phone horizontally and vertically in the clamp. Uneven placement leads to motor strain and jittery footage. Phones with bulky cases or magnetic rings may need special mounts or adapters to fit snugly.
Check the phone’s orientation. For most gym filming, landscape mode captures the full movement range clearly. Some gimbals allow quick rotation for portraits but set landscape first for workouts.
Secure any included safety locks or screws on the clamp to prevent the phone from slipping during movement or vibration. Confirm it feels stable by gently shaking the gimbal before powering it on. We cover tripod for filming deadlifts in its own article.
Check the phone’s position again after mounting to ensure the camera lens is not obstructed by the clamp. Some phones have asymmetric cameras that may be partially blocked if centered incorrectly.
If your phone is heavy or has attachments like lenses, consider using counterweights or adjustable gimbals that support extra load. This prevents motor strain and extends battery life. For example, a phone weighing 220 grams with a clip-on lens may need a small counterweight of 30 to 50 grams on the opposite side.
Balancing the gimbal with the phone correctly
Balance means the gimbal motors don’t have to fight gravity to hold your phone steady. With the phone mounted, adjust the gimbal’s arm and clamp positions so the phone stays level when you let go by hand. It helps to understand how to mount a camera before going further.
If the phone tilts forward, backward, or sideways when released, shift its position slightly in the clamp or slide the gimbal arm until the phone rests level with minimal motor strain.
Observe the motor strain indicator on the gimbal app or device LEDs. Aim for under 10% strain on each axis for optimal battery life and smooth motor response.
Balance can shift if you add a magnetic ring or case. Test balance again whenever you change accessories or phone orientation. There is more on weighted tripod feet for phone + gimbal setup in a separate guide.
Try balancing in all orientations before powering on. Tilt the phone forward, backward, and sideways to check if it stays still or drifts. Adjust the clamp and arm until the phone rests without falling in any direction.
Some gimbals have fine-tune knobs for balance adjustment on each axis. Use these to reduce motor effort further. For example, if the phone tilts 5 degrees forward, adjust the arm forward by about 5 millimeters.
Using gimbal modes for workout movements
Different gimbal modes suit different filming needs during lifts. The most common are lock mode, follow mode, and pan mode.
Lock mode holds your phone facing a fixed direction, ignoring your hand movement. Use it for static shots where you want the phone looking at you during a squat or bench press.
Follow mode allows the gimbal to track your hand’s horizontal movement but keeps vertical and tilt angles steady. This is ideal for walking around or filming dynamic deadlifts with some camera motion.
Pan mode lets the phone smoothly rotate horizontally to follow your hand’s movement, good for side shots of bar path during lifts.
Switch modes using the gimbal’s button or app before filming. Select the mode that matches how much you plan to move the gimbal during your workout.
Some advanced gimbals offer sport or lock-to-roll modes. Sport mode increases motor responsiveness for fast movement but drains battery faster.
Use follow mode for exercises that involve side-to-side movement, like lunges or kettlebell swings. It keeps the phone looking at you while allowing fluid motion.
Lock-to-roll mode helps when you want the phone to maintain a horizon line during complex moves like overhead presses or cleans. It reduces unwanted tilts and keeps the shot level.
A worked example: if your workout includes walking lunges, set the gimbal to follow mode. It tracks your horizontal movement smoothly. Switch to lock mode for stationary planks or wall sits to keep a fixed shot.
| Mode | Description | Best Use |
|---|---|---|
| Lock | Phone direction fixed | Static squat or bench videos |
| Follow | Follows horizontal hand moves | Walking deadlift shots |
| Pan | Smooth horizontal rotation | Side barbell movement |
| Sport | High motor responsiveness | Fast or explosive lifts |
A clear step-by-step guide to mounting, balancing, and using a phone gimbal for smooth hands-free gym workout filming.
Integrating the gimbal with gym rack mounts or magnetic setups
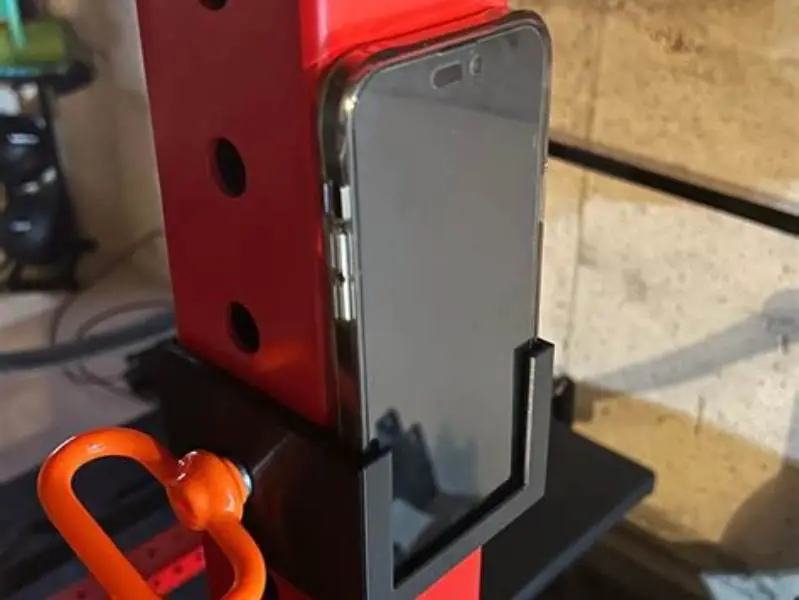
Hands-free filming in the gym requires mounting your gimbal securely to racks, machines, or tripods. Many gym racks have 25-30 mm diameter tubing to clamp onto.
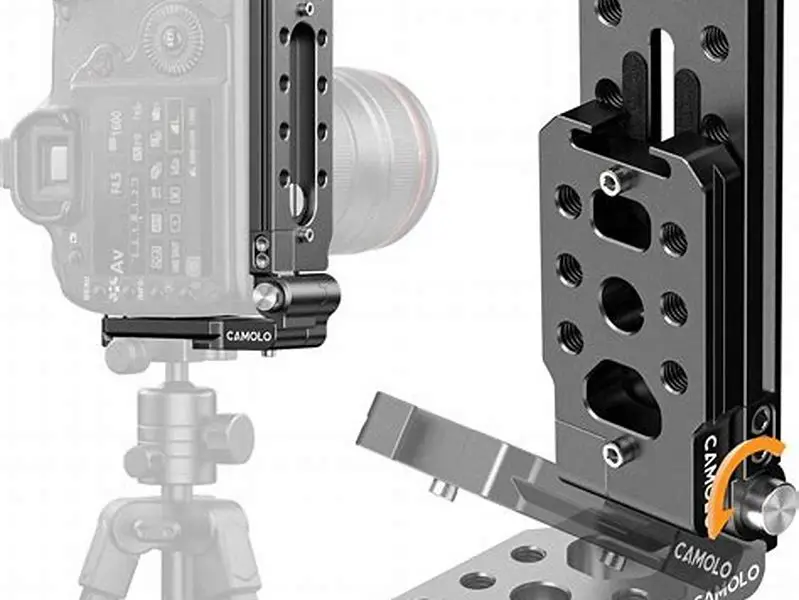
Use a compatible clamp mount that fits your rack size and can hold the gimbal’s handle or tripod screw mount. This creates a hands-free stable platform for filming.
Magnetic setups are popular if your phone or case supports magnetic rings like MagSafe or Qi2. Attach a magnetic adapter to the gimbal or mount to lock your phone in place quickly.
Balance is critical here. The magnet must hold firmly with at least a few hundred grams of pull force to counter phone weight and gym vibrations. Check magnet strength ratings before use.
Position your mount so the phone lens captures your full range of movement. Usually, place the phone about 1 to 1.5 meters high and 1.5 to 2 meters away, depending on the lift.
Test the whole setup for stability by performing your lift once while watching the live phone screen if possible. Adjust height or angle if the frame cuts off your form.
Magnetic mounts must be checked for secure attachment before each use. A magnet rated with a pull force of at least 3 kilograms is recommended to hold most phones safely during vigorous lifts.
Attach the gimbal mount clamps tightly to the rack tube. Use rubber inserts or padding if the clamp is loose or the surface is slippery. This prevents vibration and shaking in the footage.
If you film multiple angles, use quick-release mounts so you can swap gimbals between racks or tripods fast without rebalancing each time.
Tips for filming lifts smoothly with a gimbal
Start with a fully charged gimbal battery. Most gimbals run 4 to 8 hours active use, but heavy movement drains faster.
Use smooth, slow hand movements if you plan to hold the gimbal while filming. Jerky or abrupt moves cause visible shake even with stabilization.
Plan your framing before starting. Position yourself and the gimbal so your full squat or deadlift fits in the frame without needing constant adjustment.
Use the gimbal’s pan and tilt controls gently. Avoid rapid changes in angle or zoom, as your phone sensor and lens may not keep up cleanly.
Record in landscape for best compatibility with social media and easier review of form. Ensure your phone camera settings use at least 1080p at 30fps for clear slow motion options.
Review footage immediately to check framing and stability. Reshoot if the phone angle shifted or the gimbal struggled with balance.
If using a tripod or rack mount, secure all screws tight and avoid bumping the setup between reps.
Monitor the gimbal’s temperature during workouts lasting over 30 minutes. Motors can heat up, causing temporary shutdown or reduced performance.
Use the gimbal’s app to enable calibration routines before filming. Calibration improves motor response and stabilization accuracy.
If you notice jitter or wobble in footage, stop and rebalance the phone. Slight shifts happen after repeated use or adjustments.
How to use gimbal for phone to film lifts and workouts hands-free
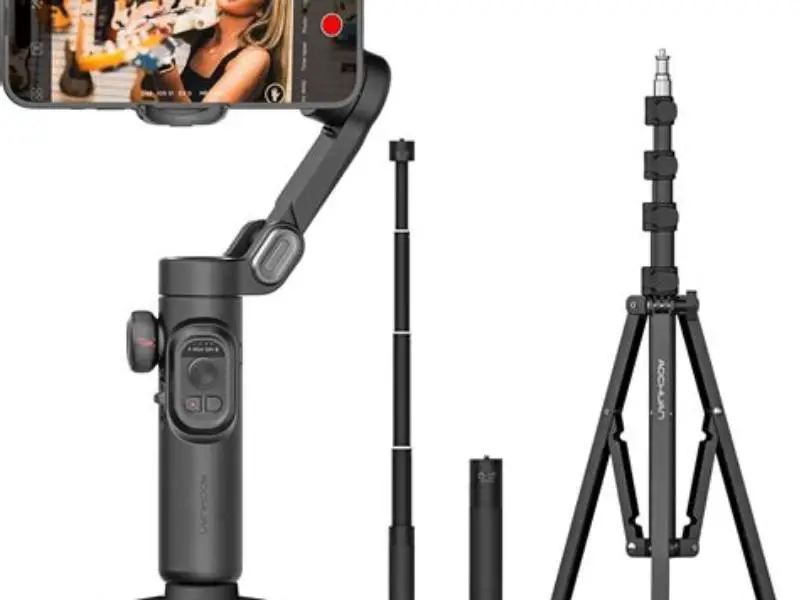
Begin by mounting the phone on the gimbal clamp, ensuring it firmly grips without damaging your case or phone. Balance it so the phone stays level when released by hand with minimal motor effort.
Select the appropriate gimbal mode for your workout. Lock mode works best for static filming of squats or bench presses, while follow mode suits dynamic deadlifts.
Attach the gimbal to a gym rack mount or tripod clamp sized to your gym equipment’s tubing. Check that the mount holds the gimbal handle firmly without wobble.
If your phone supports magnetic rings like MagSafe, use a magnetic mount adapter that matches your gimbal. Confirm the magnet’s pull force securely holds your phone during movement or vibration.
Position the mounted gimbal at 1 to 1.5 meters high and 1.5 to 2 meters from your workout area. Frame yourself fully in landscape mode before you start lifting.
While filming, keep movements gentle if handheld or avoid moving the mount. Review the video after each set to verify your form is fully visible and the footage is stable.
Use the gimbal app or buttons to switch modes or control pan and tilt smoothly if you want dynamic shots. Avoid quick jerks that reduce stabilization effectiveness.
Repeat balancing and mounting checks whenever you change phones, cases, magnetic rings, or filming angles to maintain smooth footage during your lifts.
- Mount phone on gimbal clamp securely and center it.
- Balance gimbal so phone stays level when released.
- Set gimbal mode (lock, follow, pan) suited to exercise.
- Attach gimbal to rack mount or tripod clamp firmly.
- Use magnetic adapters if phone supports MagSafe or Qi2.
- Position camera to capture entire movement at 1-1.5 m height.
- Film with smooth motions; avoid jerks or rapid angle changes.
- Review video for framing and stability after lifts.
FAQ
Can I use any phone case on a gimbal?
Not all cases fit well on gimbals. Bulky or uneven cases can unbalance the gimbal. Use slim cases or remove the case for better balance.
Should I film in landscape or portrait mode?
Landscape mode captures wider movement and is best for workout videos. Portrait may crop important parts of your lift form.
How often do I need to rebalance the gimbal?
Rebalance whenever you change phone orientation, add accessories, or switch cases. Even small weight shifts affect motor strain and footage quality.
Are magnetic mounts reliable for dynamic lifts?
Only if the magnet’s pull force securely exceeds your phone’s weight. Weak magnets risk phone drops during vigorous movement.
Can I control the gimbal while filming hands-free?
Some gimbals offer remote app control or physical buttons on mounts. Otherwise, pre-set your mode and angles before filming.
What battery life can I expect from a phone gimbal?
Typical gimbals last 4 to 8 hours per charge depending on motor load and usage mode.